Amethyst Fingerless Mitts
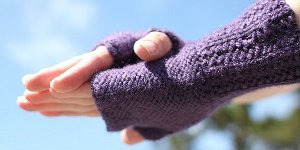
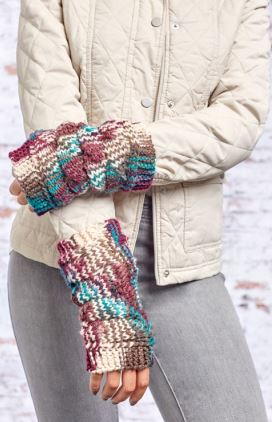
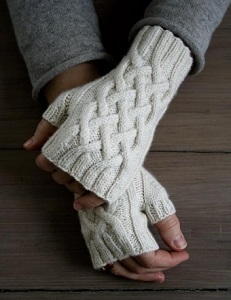
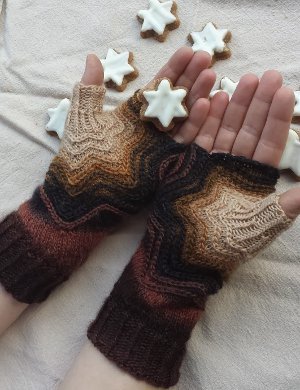
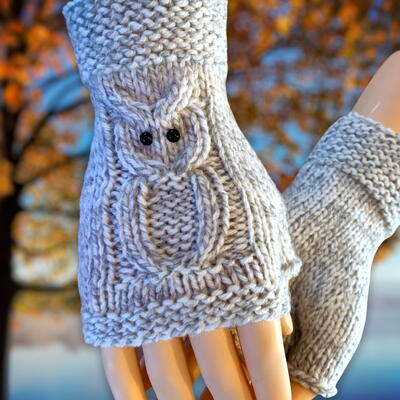
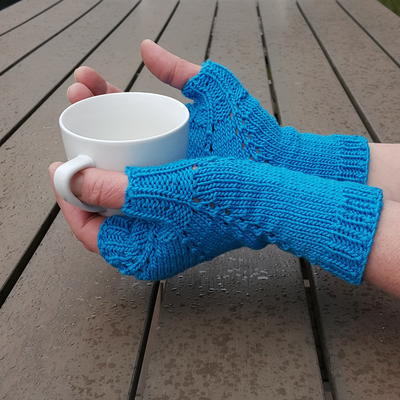
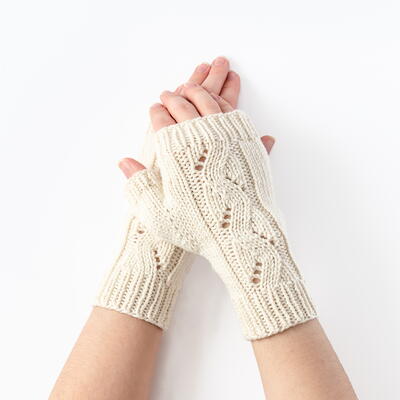
These pretty purple mitts are fit for a queen. The Amethyst Fingerless Mitts are a lovely fingerless gloves knitting pattern that will add a pop of lovely lavender color to whatever you're wearing. These cute knit accessories are a great option to have in your cold weather accessory bin and you'll love pulling them on for blustery outdoor activities or lazy afternoons indoors. Make some for a friend who loves purple, or celebrate a February birthday with an appropriately named gift.

Knitting Needle Size7 or 4.5 mm, Double-Pointed Knitting Needles (DPNs)
Yarn Weight(4) Medium Weight/Worsted Weight and Aran (16-20 stitches to 4 inches)
Read NextSpider Fingerless Gloves
Your Recently Viewed Projects
thedrfroggy 424456 8
Jan 24, 2015
Love these, I did them in an 80/20 wool/ silk with a rolled bind off and wear them with the knit, instead of pearl, side out
Retired and loving
Nov 07, 2014
Check you tube for a video on how to get rid of the ladder. Its soooo simple to do. Cast on 1 xtra stitch then when you start to join u slip that xtra stitch onto ur right hand needle then slip stitch over. No more ladder. Works everytime. Really chk out you tube
fortunekay 4629383
Nov 09, 2013
These look beautiful, I would love to knit them but I just cannot enjoy knitting in the round.I have tried but I end up with a ladder where the needles meet and it takes me so much longer I get stroppy with anyone who dares breath within a 1/2 mile radius! As this is meant to be my version of stress relief I would like to ask- How could I adapt this pattern for straight needles?
joannmanzo 4507961
Nov 15, 2013
I can not use round needles also ...I end up with a mess..so I use straight needles for all round needle patterns
Nuala in NH
Nov 15, 2013
If you are knitting on 4 needles, to avoid a "ladder" where they meet, just slip the last stitch to the next needle at the end of each one.
Lisa
Sep 11, 2014
Its easily adapted, when it says to "join in the round or join' just don't start the pattern without joining and complete the pattern as instructed and sew the seam at the end. hope this helps.
Report Inappropriate Comment
Are you sure you would like to report this comment? It will be flagged for our moderators to take action.
Thank you for taking the time to improve the content on our site.

