Knit Hat Too Loose: 6 Ways to Make It Fit
Ever finish a knit hat only to find out it's way too big for your noggin? Check out our quick hacks on how to shrink and resize your hat patterns before you rip out all your stitches!

Knit hat patterns are one of the most popular beginner knitting patterns newbies like to explore. After you've completed a scarf or a blanket, a hat is an exciting way to try out your new knitting skills. Hats, however, come with their own set of skills and problems. You have to decrease your stitches more often, you're knitting a rounded shape, and the hat needs to fit! One of the most common complaints we hear from new knitters is that their final knitted hat pattern is too loose for their heads! Oftentimes, the hat looks cute when completed, but sags when they pull it over their noggin. This is often because knitters have failed to keep track of their gauge, followed a pattern that isn't the right size, or their beginner stitches are a lot looser than an experienced knitter's tension.
Many knitters will tell you there is only one option when you knit a project that you aren't happy with - redo it! If you truly want the knit hat to fit perfect this might be your best option. There are a few hacks, however, that will help you make that finished hat pattern fit just a little bit better.
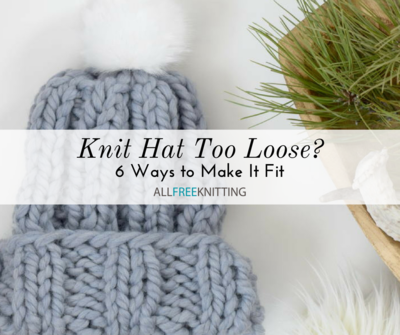
Love the pattern featured in the photo? Check out the Quick Pretty Chunky Knit Hat Pattern from mamainastitch.com.
Note: Many of these tips only work to help you make the hat fit tightly around your head and work to fix the rim or brim of the hat. This will help a hat fit snuggly and stay put, but it will likely still be bulky up top.
How to Shrink and Resize a Knitted Hat
-
Blocking the Hat Smaller - If you are simply looking to make your hat LOOK smaller, this is a good option, especially if you are working with a slouchy hat. Blocking and drying your hat will help your stitches even out and look more professional. It will also allow you to compact and stretch a longer hat. If you need to make the hat fit, however, this is not a great option. Blocking will be undone when you wear the hat a few times and it stretches back out.
-
Adding Elastic - Adding a row or two of elastic thread to the brim of your hat will help it fit. This process will not shrink the entire hat, but help the brim fit much better. This option is ideal for loose-fitting hats like a slouchy hat. In order to add elastic to your knit hat, stitch several rows or rounds into the bottom of your hat a bit tighter than the rest of the project. You can easily find colorful elastic to match your hat at a craft store.
-
Lining Your Hat - Adding a liner to your hat will allow your hat to fit more snugly on your head. This is because it reduces the circumference on the inside of your hat. You have two options for this. You can either create a simple headband liner or line the entire hat. This will also make the hat much warmer. This is really the best option for resizing. It can also change the shape of your hat. We recommend using a fleece lining for this. Polar fleece is comfy and is less likely to fray.
This is also a great option for children's hats as it eliminates the itchy factor of a knitted hat.
-
Adding Darts - If you're trying to make the entire hat smaller, adding darts could be a quick fix. Add darts to the wrong side (inside) of your hat to take it in. Space 4 or 6 around the hat, taking in a few stitches and go for an inch or so. This process is better for thicker/bulky fabrics as more intricate work will likely show the darts.
-
Folding the Brim - This is ideal for finished hats that are too long and too loose. Folding the brim of a beanie or slouchy hat can help you shorten the hat and tighten it at the same time. Be sure to stitch the folds to the hat so that they do not fall down after a few wears. If you're trying to really make the hat snug, consider combining this technique with elastic thread.

