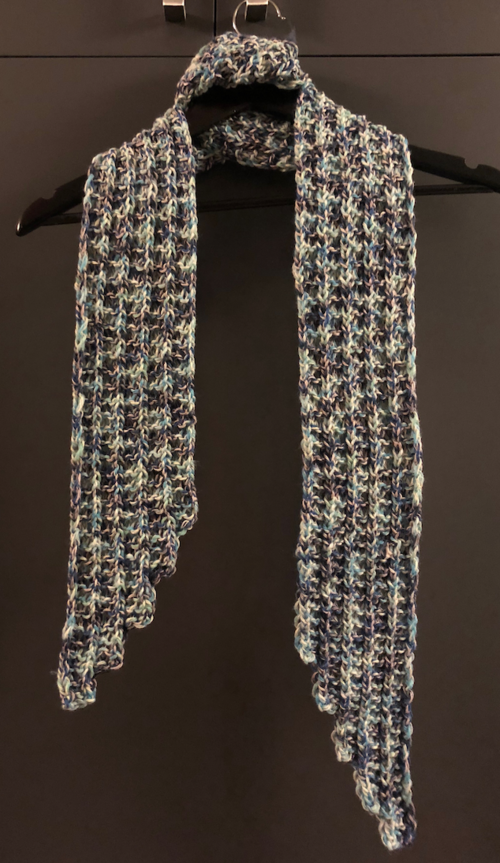
Step-by-Step Scalloped Scarf

From the blogger: "This scarf uses what I call the ridge and garter stitch pattern (I’m sure there’s an official name for it) of K3P1 in such a way that it looks the same from both sides. I think it's perfect for scarves. I've been thinking about trying the pattern with this step technique for a while and finally found the perfect project for it. I found out it was someone's birthday and had little warning. I'm not sure how many hours I spent on it, a few for a couple of evenings. It went pretty fast once I got the "step" part!"

Knitting Needle Size6 or 4 mm
Yarn Weight(4) Medium Weight/Worsted Weight and Aran (16-20 stitches to 4 inches)
Materials List
- 4 mm needles (or other size as desired)
- One skein Lion Brand Flikka (or similar yarn)
Instructions
Note: if you prefer, you can slip the first stitch of every row instead of knitting. Therefore, it would be sl1 k2 p1 and then *k3p1*. This makes for a smooth edge.
-
Cast on 4 stitches
-
Row 1L: K3 P1
-
Row 2-5: K3P1
-
Row 6: K3 P1
-
Cast on 4 stitches (8)
-
Row 7-11: *K3P1*
-
Row 12: *K3P1*
-
Cast on 4 stitches (12)
-
Row 13-17: *K3P1*
-
Row 18: *K3P1*
-
Cast on 4 stitches (16)
-
Row 19-23: *K3P1*
-
Row 24: *K3P1*
-
Cast on 4 stitches (20)
-
You can keep following this pattern of adding four every six rows for a wider scarf or stop sooner for a narrower one). Repeat basic row: *K3P1* until you reach the desired length (don’t forget the step part will add length).
Instructions: Decreasing
Note: you can start the decrease so that the scarf is a parallelogram (just decrease on the opposite side of the increases) or so the scarf is a trapezoid (one short side and one long side as you can see in the photo).
-
Row 1: cast off 4 stitches; *K3P1* (16)
-
Repeat *K3P1* for 5 rows repeat this pattern, cast off four at the beginning of a row, and then knit five rows until no more stitches remain. The last off should be final 4 stitches.
-
Weave in ends. Done. No backing necessary.
