How to Make a Slip Knot
Learn how to tie a slip knot with this straightforward tutorial and you will be able to master knitting patterns for beginners in no time.

Before you start knitting, you'll need to know how to make a slip knot. It isn't that difficult, especially now that you have this easy-to-understand tutorial, complete with pictures and instructions.
Check out the instructions and pictures below to learn how to quickly and easily make a slip knot and you will be off and running on your new knitting pattern in no time.
If you love these knitting patterns, be sure to subscribe to our newsletter to get amazing knitting patterns like these delivered to your inbox every day!
But First
If you're new to knitting, don't miss our free online knitting class! In seven short parts, you will learn everything you need to know in order to make your very first knit scarf. From casting on to the knits and purls and binding off, this knitting class is great for folks who want to start knitting but don't know where to begin.
Get Started:
How to Make a Slip Knot
Step 1
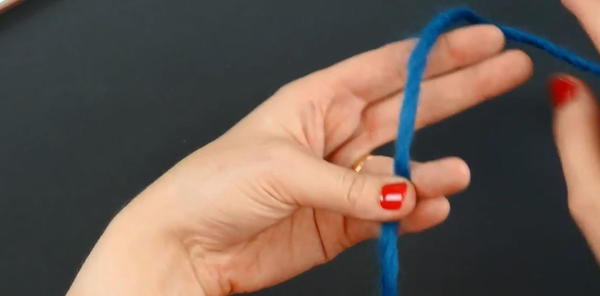
Find the spot on your yarn where you want to make your slip knot.
If you're doing a knit-on cast on, this can be relatively close to the end of the yarn. For a longtail cast on, you'll have to measure the length of yarn you'll need for your cast on row.

Step 2
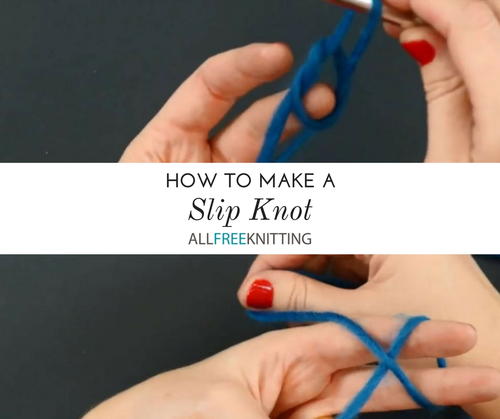
Wrap your working yarn around your forefinger and middle finger, forming an X in the front.
Step 3
Bring the yarn to the back of your hand and wrap it around to the front, securing it with your ring finger, pinky, and thumb.
Step 4
Insert one of your working needles through the two loops of yarn like this:
Step 5
Use the needle to pick up the bottom loop of yarn, bringing it behind and through the top loop.
Step 6
Bring the needle up and release
Step 7
Tighten the knot.
