Scrap Yarn Knit Face Mask Pattern
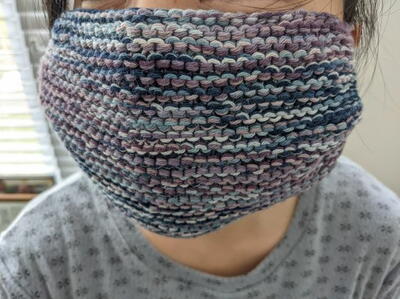
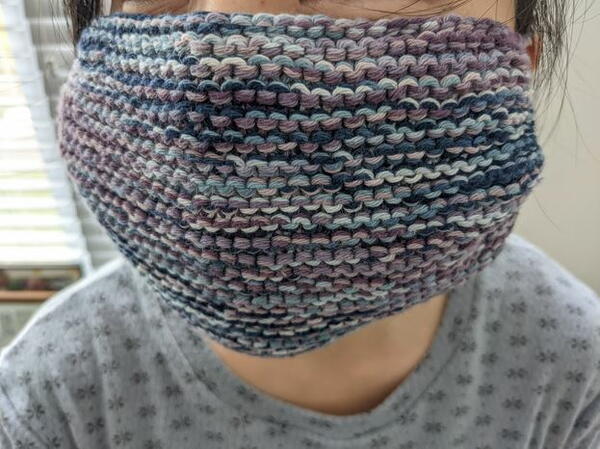
If you've ever wondered what to do with yarn scraps, try putting them to good use with a lined knit face mask pattern!
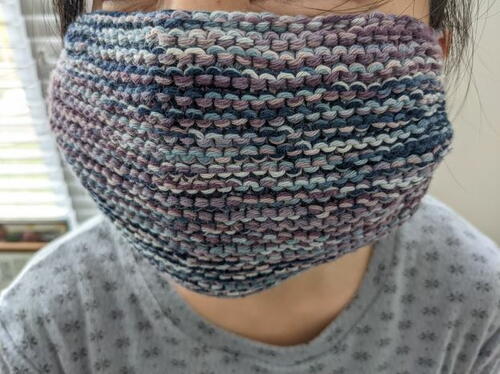
At the beginning of lockdown, seamstresses all over ravaged their fabric stashes in an effort to help alleviate the mask shortage. As a seamstress myself, I was glad to have a project that made me feel a sense of purpose while simultaneously using up all the odd pieces of scrap fabric I had lying around. As a knitter as well, I also have all sorts of odd amounts of yarn scraps I never know what to do with. So I've come up with a mask pattern for us knitters out there to help us also tackle our stashes.
Supplies Needed:
- About 200 yards of fingering weight cotton yarn (the yarn used in this sample is Anna & Clara Organically Produced 100% Cotton 8/4)
- Size 6 needles
- Size 4 needles
- Size 4 double pointed needles
- Tapestry needle
- ⅛" yard of quilting cotton
- Hand sewing needle
- Thread to match
- Beeswax thread conditioner
- Elastic cord stopper
- Bobkin
Before you begin:
- Wash and dry your quilting cotton. Make sure to finish any raw edges beforehand to avoid fraying.
- If you are using a single skein of yarn, wind your yarn into a center pull ball.
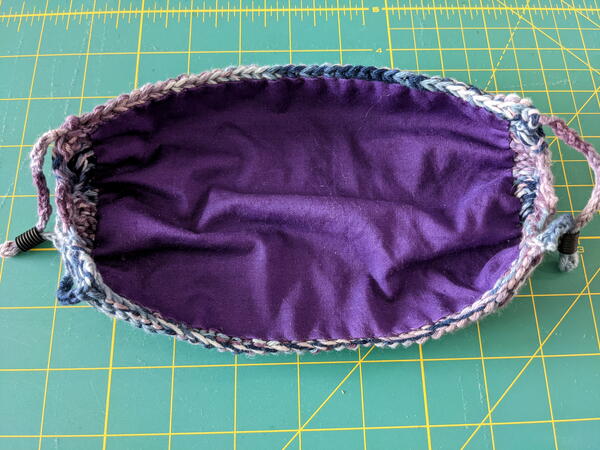
Face Mask Knitting Pattern
Step 1
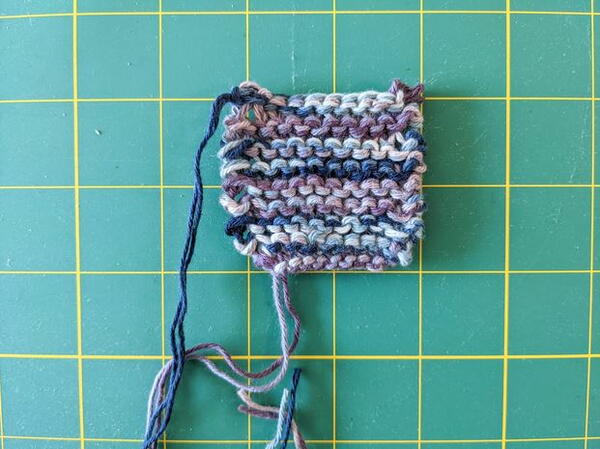
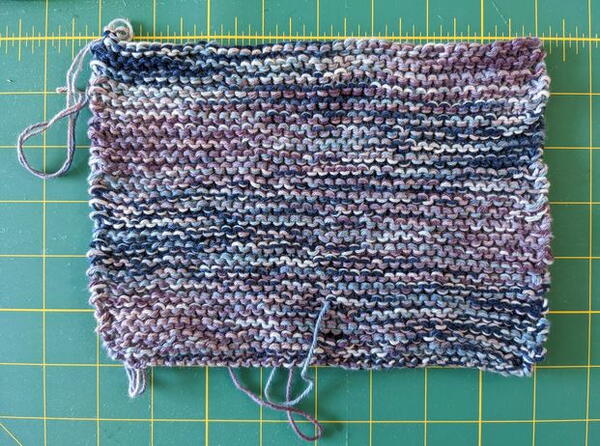
Using your larger needles and holding your yarn double, cast on 39 stitches using your cast on method of choice.
Knit until your work measures 6” long.
Bind off all stitches.
Weave in ends without cutting them off and block your work. Cut your ends once your work is blocked.
Step 2
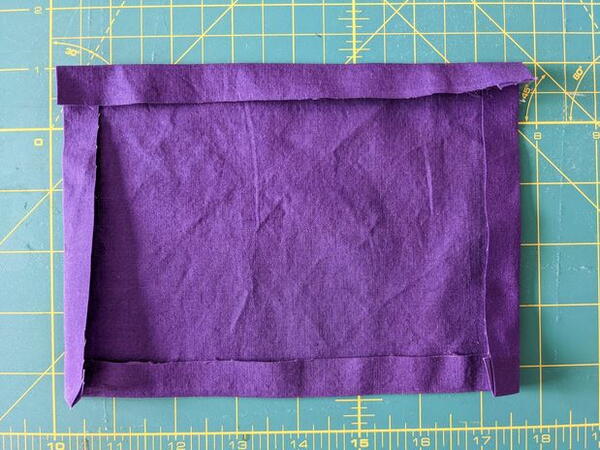
Cut a piece of quilting cotton that measures 8 ½” x 6 ½” for your mask lining. Press each raw edge under by ½".
Step 3
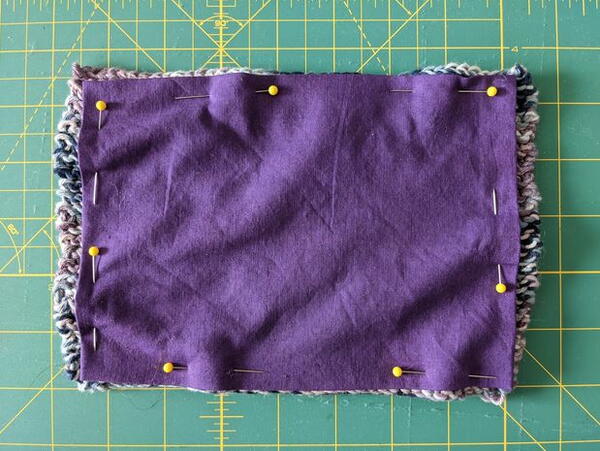
Pin your lining to the back of your knitted fabric and pin in place. Thread your hand sewing needle and condition it with the beeswax. Whip stitch your lining into place.
Step 4
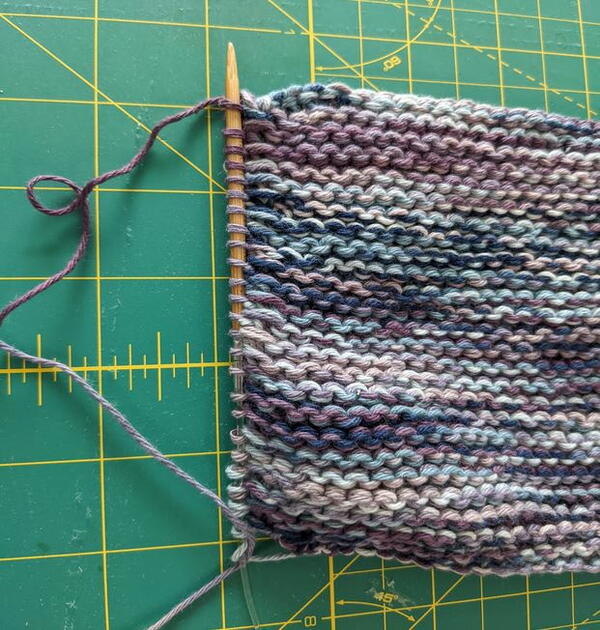
Using your smaller needles and with the right side of your mask facing you, pick up and knit each purl bump along the left selvedge edge of your mask.
Step 5
Knit 2 stitches together until you reach the end of your row (if you have an odd number of stitches, just knit the last stitch by itself). Repeat this step once more. You should have about 6 stitches left on the needles.
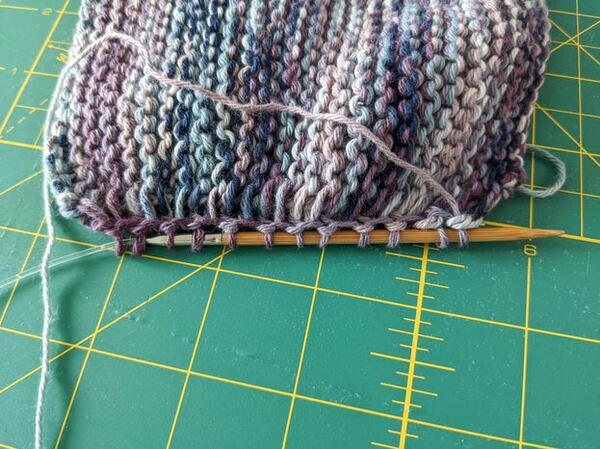
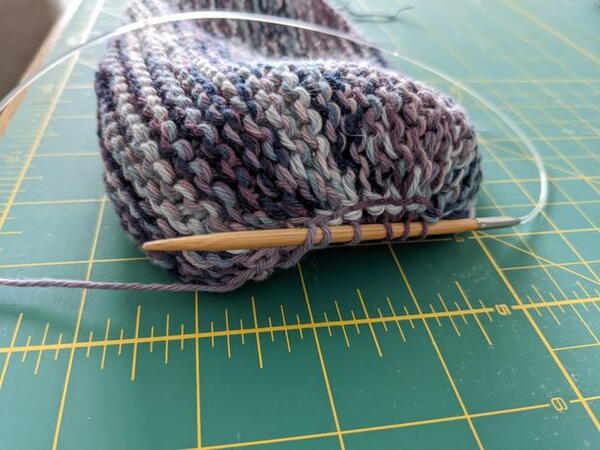
Step 6
Bind off all stitches.
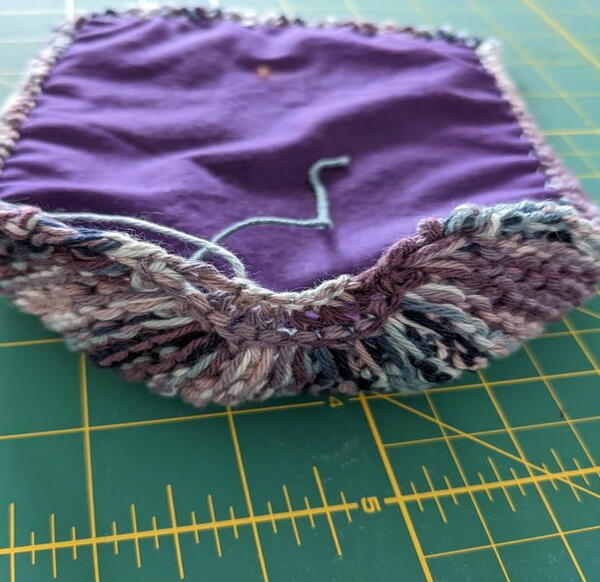
Step 7
Repeat these steps along the right selvedge edge of your mask.
Step 8
I-Cord
Using your double pointed needles, pick up and knit 2 stitches along the top left corner of your mask.
Work these two stitches in an i-cord by sliding them to the opposite end of your right-hand needle. Without turning your work, switch your right-hand needle to your left hand so that your working yarn now comes from the left. Continue doing this until your i-cord measures 8".
For your last row, knit 2 stitches together. Break yarn and pull the tail through your remaining stitch. Attach to the bottom left corner of your mask by weaving this end in securely.
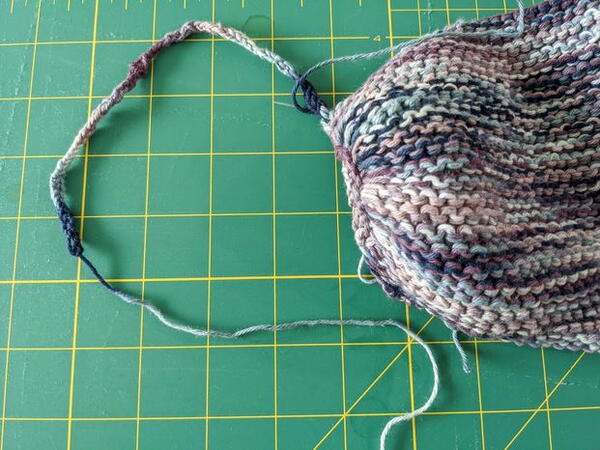
Step 9
Repeat on the right side of your mask.
Step 10
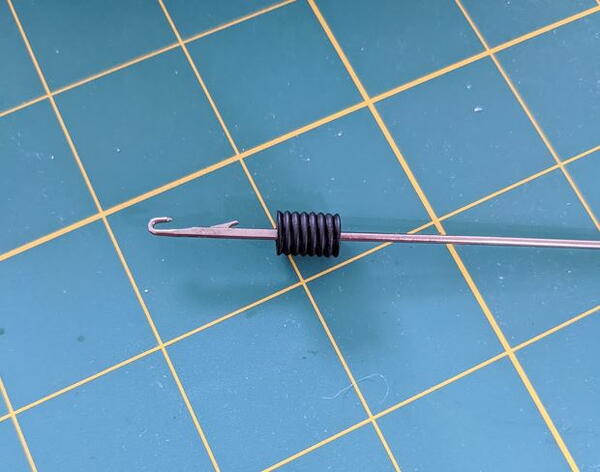
Push your bobkin through the top end of one elastic cord stopper going all the way through.
Step 11
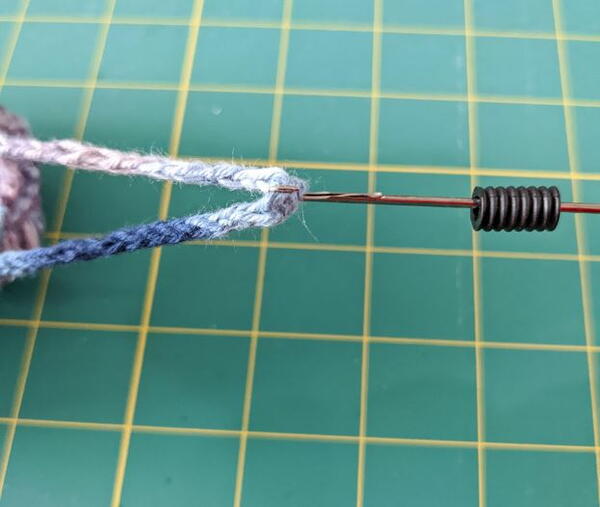
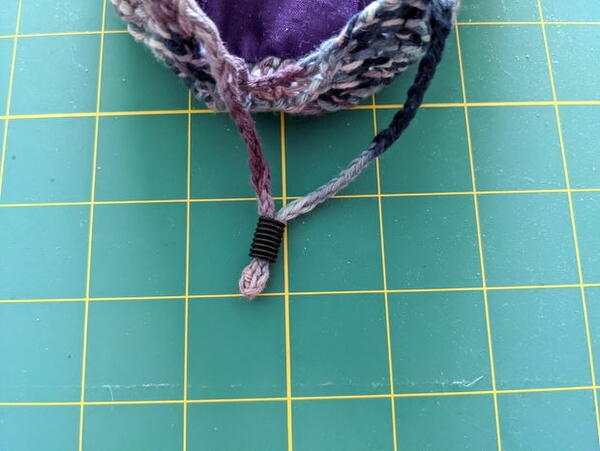
Use the hook end of your bobkin to grab onto the i-cord on one side of your mask and pull it through the elastic cord stopper. This will make your straps adjustable.
Up Next:
A Face Mask in Seed Stitch
Have you knit yourself a face mask (or 10) as of late? Share your pictures with us in the comments below!
Read NextAmber Wrist Warmers

