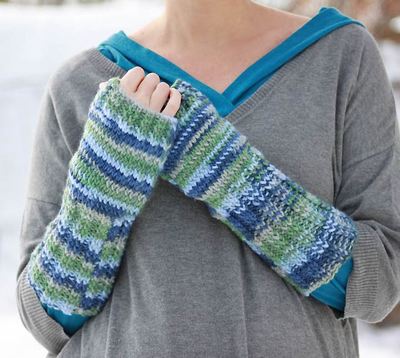
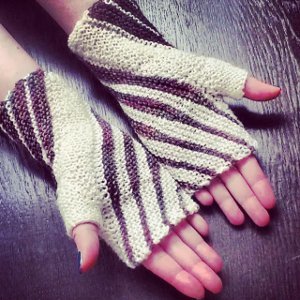
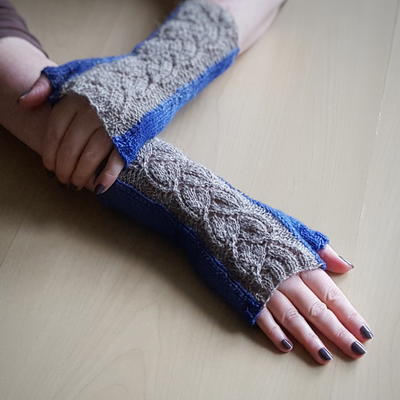
This project was submitted by one of our readers, just like you.
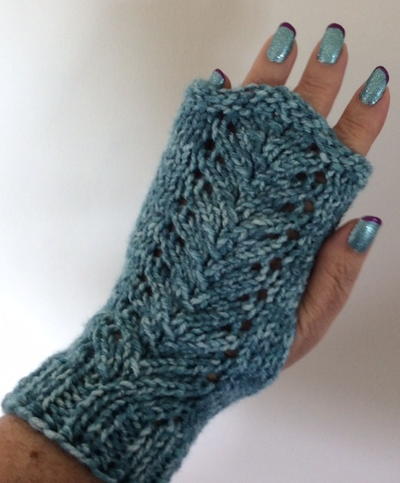
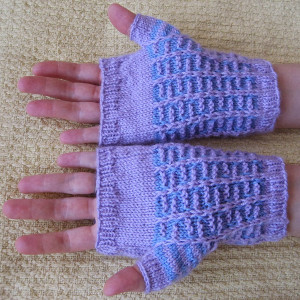
Lacy Vine Fingerless Gloves
This easy knit pattern will let you use your phone in the winter while still keeping your hands toasty warm!
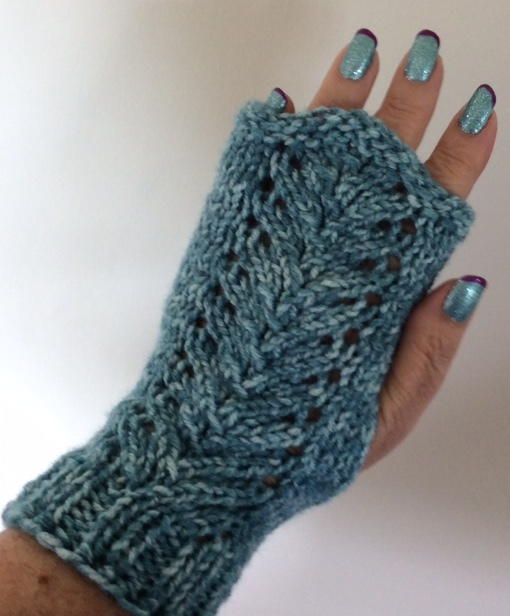
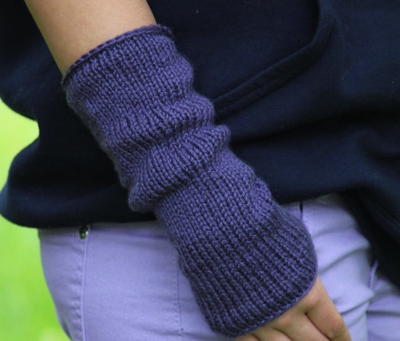
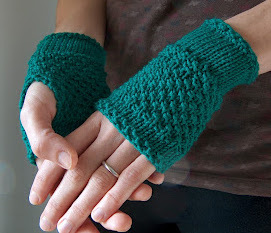
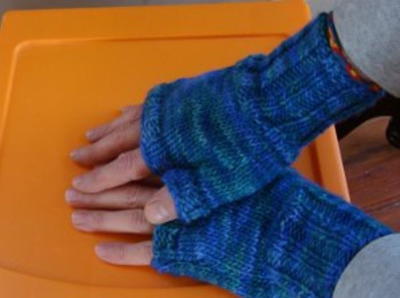
"These Lacey Vine Fingerless Gloves are an elegant way to keep warm. They are nearly the full length of the fingers with only the tips exposed so that you can still text, flip through the mail, or hook your dog on the leash. The most fun is to coordinate and show off your manicure with your gloves. It is a quick simple knit and also makes a great gift for the office gals. You should be able to get 3 pairs from a regular size skein of worsted weight acrylic yarn. Use short US size 6 needles."
NotesThese gloves are meant to be a snug fit on medium size lady hand. If you need a larger size, use US size 7 needles.

Knitting Needle Size6 or 4 mm
Yarn Weight(4) Medium Weight/Worsted Weight and Aran (16-20 stitches to 4 inches)
Materials List
- Worsted Weight Yarn - A tweed or marled knits up perfect for this project. Acrylic is good. You want gloves to be washable.
- Size 6 needles
- 1 stitch marker
Lacey Vine Fingerless Gloves
Beginning: For both hands, Cast on 30 sts and Knit 3 rows.
-
Right Hand
Rows 4, 8, 12, 16, 20, 24, 28, 32: K4 *yo, k2, skp , k2tog, k2, yo, K18
Rows 5, & all odd rows until ribbing: Purl
Rows 6, 10, 14, 18, 22, 26, 30: K5,*yo, k2, skp, k2tog, k2, yo, K17
Row 34: K5, yo, k2, skp, k2tog, k2, yo, K5, (K2tog) 3 times, K6
Row 36: 40 K4, yo, k2, skp, k2tog, k2, yo, K15
Row 38: K5, yo, k2, skp, k2tog, k2, yo, K14
Row 41:Purl
Ribbing Rows 42, 44, 46: K2, P1 across
Ribbing Rows 43, 45, 47: K1, P2 across
Row 48: Bind off loosely in pattern -
Left Hand
Begin the same as for the right hand.
Rows 4, 8, 12, 16, 20, 24, 28, 32 K17, PM, yo, k2, skp, k2tog, k2, yo, K5
Rows 5, & all odd rows until ribbing: Purl
Rows 6, 10, 14, 18, 22, 26,30 K18, yo, k2, skp, k2tog, k2, yo, K4
Row 34: K7, K2tog 3 times, K5, yo, k2, skp, k2tog, k2, yo, K4
Row 36, 40: K14, yo, k2, skp, k2tog, k2, yo, K5
Row 38: K15, yo, k2, skp, k2tog, k2, yo, K4
Row 41: Purl
Complete Ribbing the same as the right hand. -
Finishing Both Hands
Cut yarn with a 24 inch tail. Use this tail to sew the seam from the ribbing towards the beginning edge. Half way, stop connecting the 2 sides and “Buttonhole-edge” one side for 1½ inches. Return to connecting the 2 edges to the end. Turn, and sew over that seam back to the opening and “Buttonhole-edge” the other side. At the end of the opening, snuggly reinforce the seam and hide the end of the yarn inside the seam. Work in any other yarn ends.
Read NextSpring Fling Fingerless Gloves
Your Recently Viewed Projects
pesrblack 4907839
Nov 10, 2016
How do I knit "Buttonhole-edge" one side (for thumb hole)? Looked all over internet for instructions.
3cats2love
Dec 09, 2016
Hi pesrblack 4907839, what the designer means by "buttonhole edge" for the thumb hole is finishing the edge to make it nice. You can do this by using the same yarn that the gloves were knit with, or a lighter weight yarn that matches (like a sport weight), and just making an overcast stitch over the edges of the thumb hole.
Report Inappropriate Comment
Are you sure you would like to report this comment? It will be flagged for our moderators to take action.
Thank you for taking the time to improve the content on our site.


