How to Fix Knitting Mistakes on Circular Needles
Check out these common knitting mistakes and how to correct them to troubleshoot your in-the-round project.
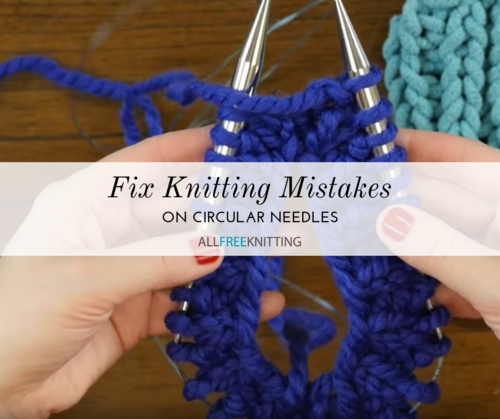
We've all been there: you're happily knitting along on your hat or sweater, when suddenly you realized that as you set your needles down to make a cup of tea or let the dog outside, you've managed to drop a stitch and it's already fallen three rows down! After the requisite amount of complaining and panicking, it's time to tenderly scoop up those needles, pinch the stitch to keep it from unraveling any further, and try to put everything back in its right place.
Here's the problem: this is your first time working in the round on circular knitting needles, or you don't know how to fix mistakes on circulars because you're so used to performing knitting surgery on straight knitting needles. Here's the secret: there's very little difference at all. Save for a few circular-specific quirks, learning how to fix knitting mistakes on circular needles really just comes back to fixing mistakes on the right side of your knitting, since knitting in the round is just working on the right side of your work with every repetition.
How to Fix a Hole in Knitting, Dropping a Stitch, Correcting a Misknit Stitch, and More
Let's start with the easiest part: as it turns out, correcting knitting fumbles on circular knitting needles is largely identical to the way you would do it on straight needles. The only difference is that if you're knitting in the round, you're always working on the right side, so you only have to focus on correcting problems from the right side of your work.
Check out our article on How to Fix Knitting Mistakes to learn how to tink, and fix pulled, twisted, and dropped stitches. These tips are all applicable on circular knitting needles so long as you remember that you are consistently working on the right side of the work.
Losing the Beginning of the Round
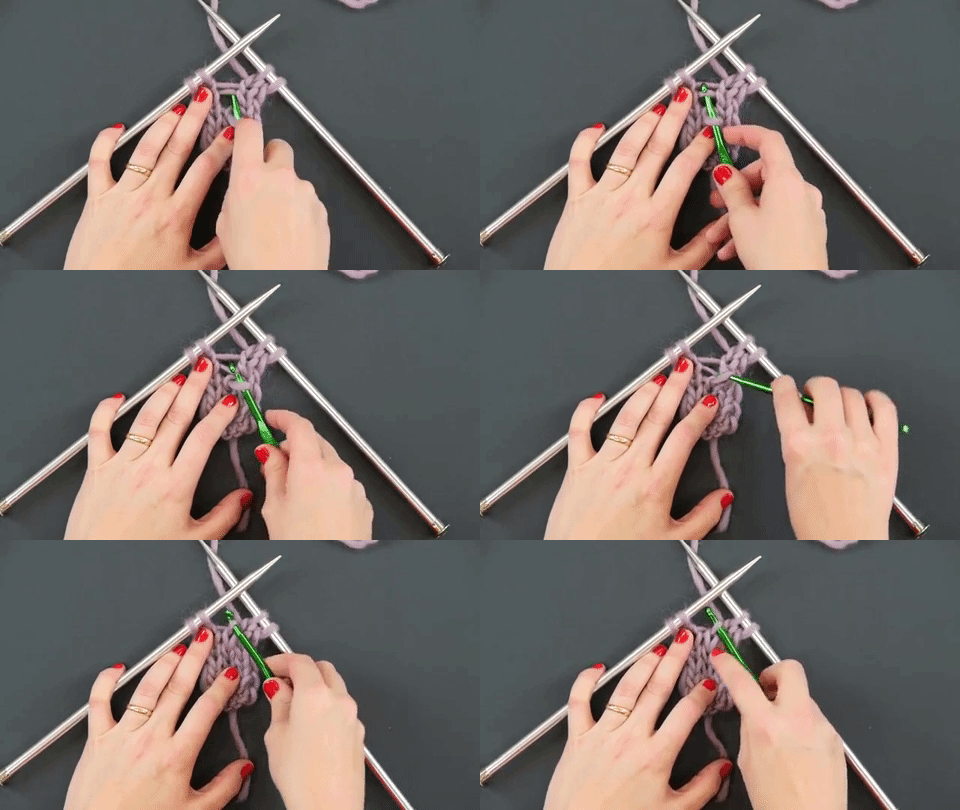
I can't tell you how many times I've dropped my stitch marker and have had to use a bit of luck and intuition to figure out where the beginning of my round is. In most cases this is a fairly simple task.
Finding the beginning of the round is a piece of cake. First, find the tail of yarn at your cast-on edge, and identify where it meets the edge. From there, follow the column of stitches above it all the way up to your current row. That's the first stitch of the round! Place a stitch marker between the last stitch and first stitch of the round so you don't lose your place again.
On the off-chance your project involves very little shaping or a simplistic stitch pattern, it's okay to be a stitch or two off of where you started out.
If you want to be extra-sure of where your round starts, you can double-check your place by going back and looking at your most-previously-knit stitches. This is easiest if your pattern involves long repeats of stitch combinations that change every other row, rather than very short and repetetive stitch patterns such as stockinette, garter, seed, or rib stitch. Identify where you are in the repeat, or how many repeats have already been completed, by reading your knitting backwards, from left to right. Say you're supposed to repeat your stitch pattern 10 times in one round, and you count 9; you have not yet hit the beginning of the round. One more repeat, and you're there! Any more than 10, and you've surpassed the beginning of the round and should knit back.
There's a Gap in My Cast On Round
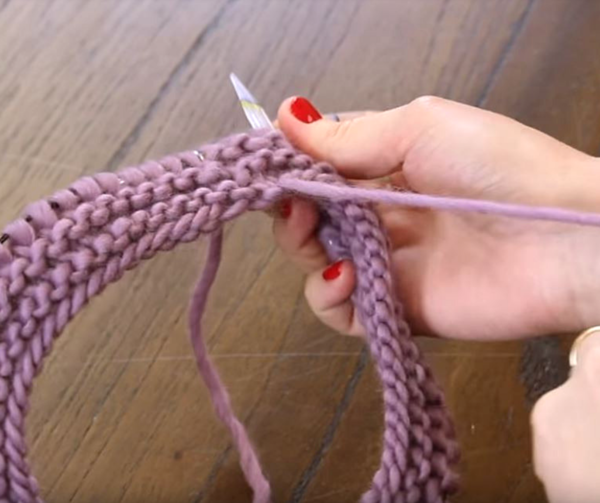
There are many ways to cast on to avoid the dreaded gap, but if you only cast on straight and began knitting in the round without doing anything special, it's not the end of the world. After binding off, pick up a crochet hook or tapestry needle, take the tail of your yarn, and pull it through the first stitch of the round. Cinch it somewhat tightly, weave that end in, and folks will be none the wiser that there was ever a gap there to begin with.
For future reference, there are easy ways to start off knitting on circular needles that help you avoid that gap, such as the invisible join as you cast on, or beginning your round by knitting a few stitches with both your working yarn and your tail. The latter has the added benefit of weaving in your tail a little bit for you, but the detriment of making it harder to identify the beginning of your round if you ever lose your stitch marker.
Knitting Inside Out
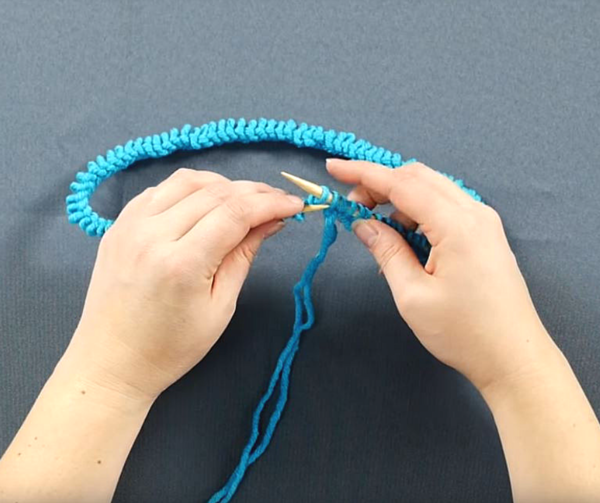
If you ever put your work down for an extended period of time and picked it back up again, you may notice that suddenly your lovely tube of stockinette stitch has turned into reverse stockinette stitch, or what appears to be garter stitch. This happened to me once before when I first started using double-pointed needles, and it was absolutely baffling. What just happened?
At some point in your work, likely at the beginning of a round, you began knitting inside-out. That means either your work flipped inside-out and you're now working the wrong side as the right side, or you've been working backwards by re-working previously worked stitches. A dead giveaway that this has occurred is that your work is now growing up from your needles rather than down. This isn't a common problem, but it's an easy mistake for beginners to make.
If you've only knit a round or two, simply tink back the other way until you get to the change in stitch pattern, and flip your work so the stockinette (or right) side is once again on the outside and the working yarn comes out of the most recent correct stitch. If you've somehow managed to go more than a few rounds knitting in the wrong direction, you may choose instead to insert a lifeline and frog back to the most recently correctly knitted round.
What mistakes have you made on circular knitting needles?
Read NextHow to Knit a Hat

