Cabling Without a Cable Needle
From four-stitch cables to right twist and left twist, knitting without a cable needle is easier than you may expect!

There are a lot of reasons you may want to learn cabling without a cable needle. You may have lost your cable needle in the endless sea of notions sitting at the bottom of your project bag, or it may have been eaten by an overzealous puppy, or you may have never purchased a cable needle in your life. Suddenly, your pattern is calling for cables. What's a knitter to do? There's no reason to give up and find another pattern; smaller cables can easily be accomplished without a cable needle, and if you're working on wider cables, there are plenty of cable needle alternatives.
Check out our tutorials and tips below for cabling without a cable needle; these tips and tricks will work whether you're knitting flat or in the round, and they take only a minimal understanding of the mechanics of cables to comprehend.
Right Twist and Left Twist
Right and left twist, or C2B and C2F respectively, are rarely completed with a cable needle in the first place! These two-stitch cables are quicker and easier to accomplish with just the two needles with which you're knitting, and many patterns even call for these "twists" to be completed in this way because of the frequency with which they show up in the pattern.
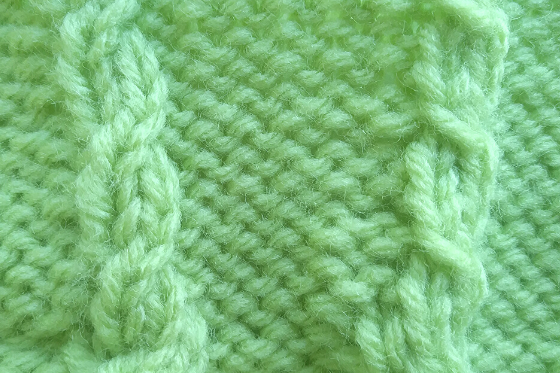
Left Twist Knitting (C2F) Without a Cable Needle
1. Work to the point in your pattern where you're meant to make your cross.
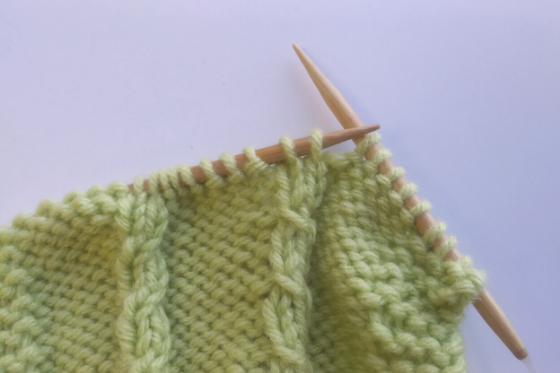
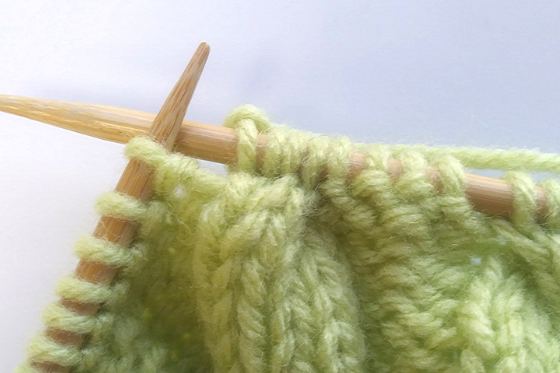
2. Insert your righthand needle into the second stitch on your lefthand needle through the back loop.
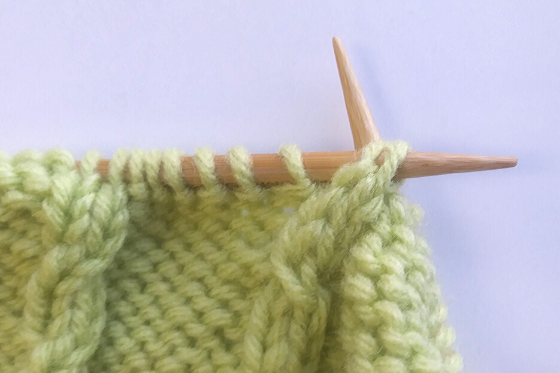
As seen from behind:
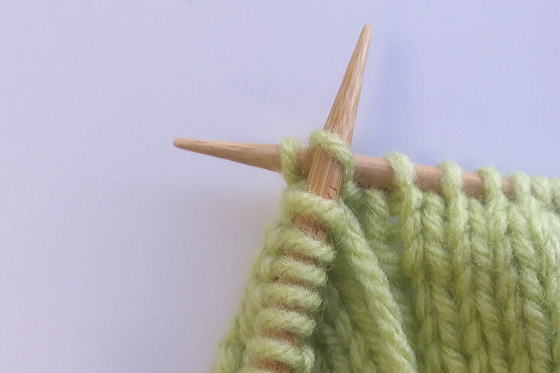
3. Knit this stitch, but don't slip the loop off of your lefthand needle.
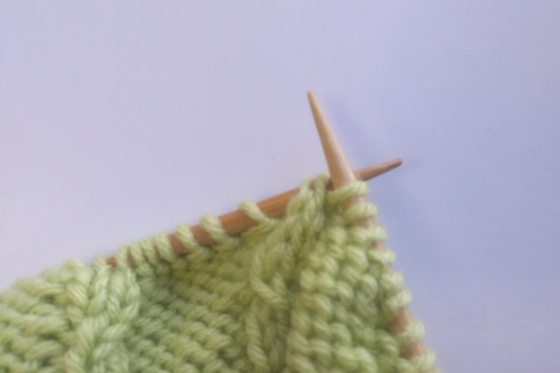
4. Insert your righthand needle into the first stitch on your lefthand needle through the back loop.
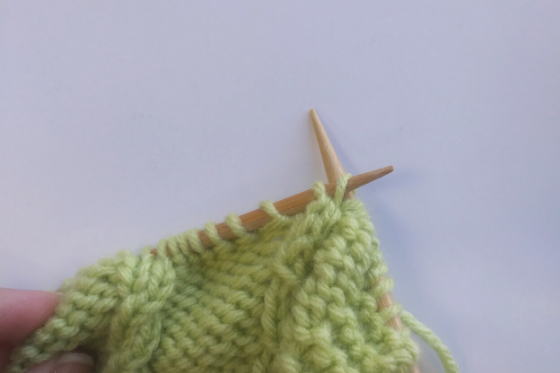
5. Knit this stitch, but don't slip the loop off of your lefthand needle.
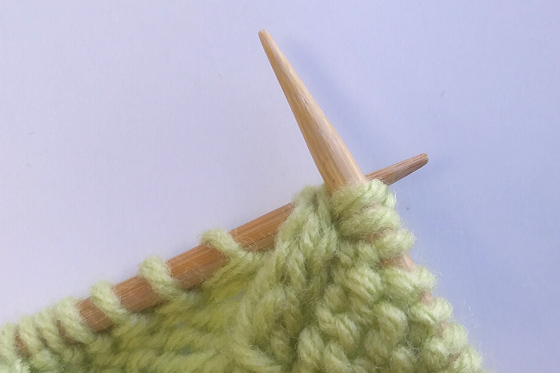
6. Instead, slip two loops off of your lefthand needle. You have completed a left cross.
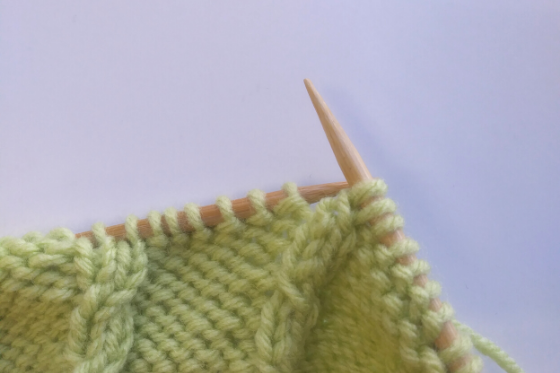
See the left twist in real time:

Right Twist Knitting (C2B) Without a Cable Needle:
1. Work to the point in your pattern where you're meant to make your cross.
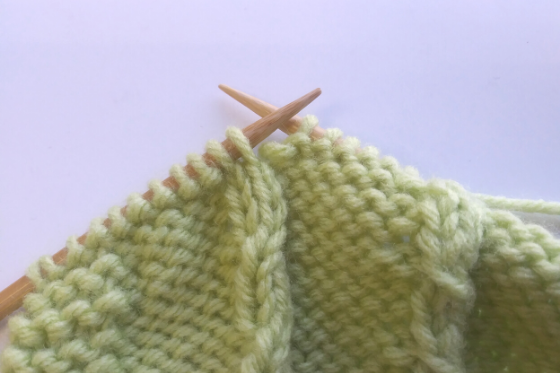
2. Insert your righthand needle into the second stitch on your lefthand needle through the front loop (as is standard in knitting)
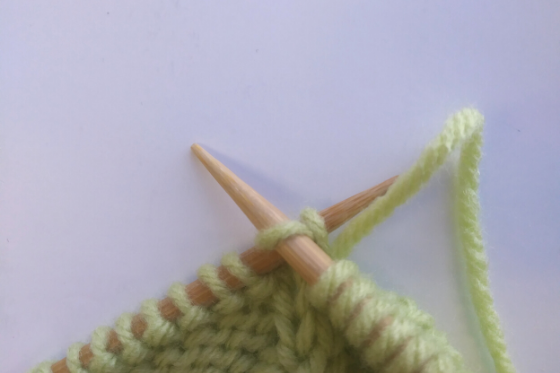
3. Knit this stitch, but don't slip the loop off of your lefthand needle.
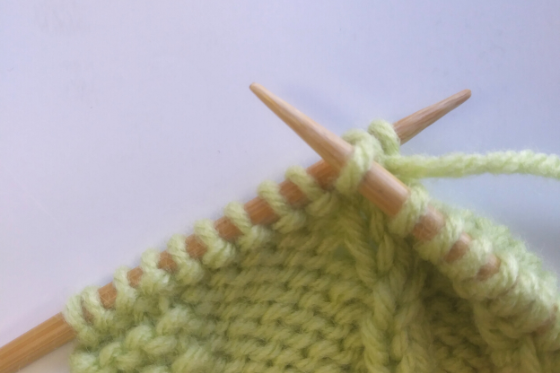
4. Insert your righthand needle into the first stitch on your lefthand needle through the front loop.
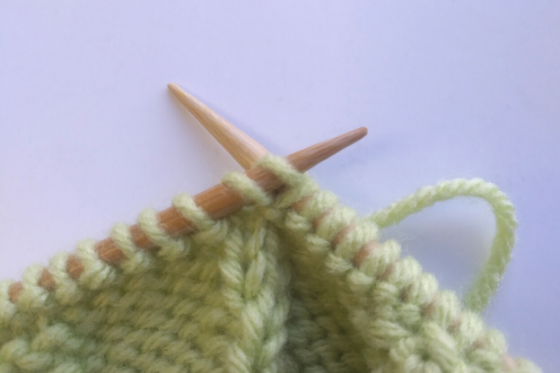
5. Knit this stitch, but don't slip the loop off of your lefthand needle.
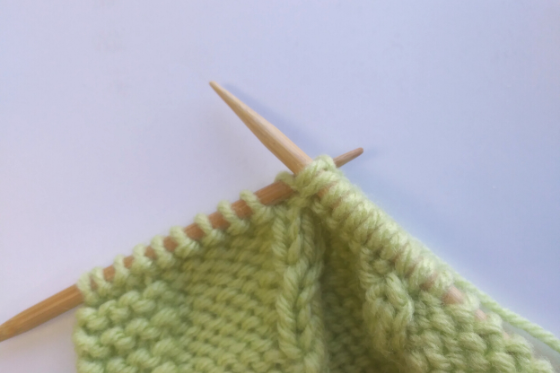
6. Instead, slip two loops off of your lefthand needle. You have completed a right cross.
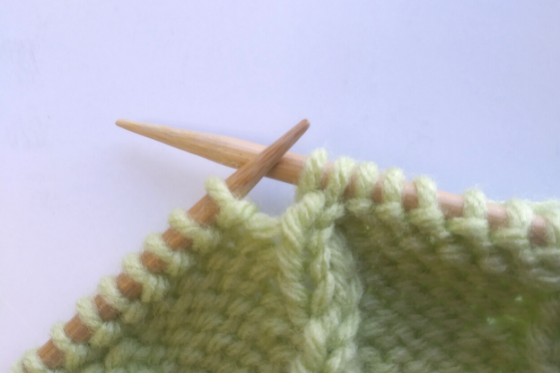
See the right twist in real time:

4-Stitch Cables
Knitting four-stitch cables is possible without a cable needle, but it's a little more finnicky than the standard two-stitch cables. Since this technique involves hanging live stitches off of the front or back of your work while you manipulate the stitches around them, we recommend pulling up these live stitches with your fingers if at any point you feel they're slipping. If you can't seem to accomplish this without these stitches unraveling, we recommend simply using a cable needle or one of the alternatives listed below.
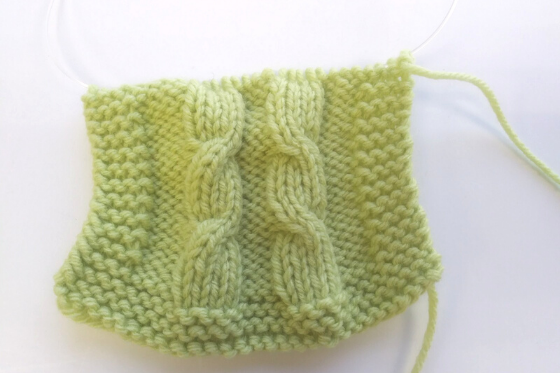
C4F (Cable 4 Front) Without a Cable Needle:
1. Work to the point in your pattern where you're meant to make your cable.
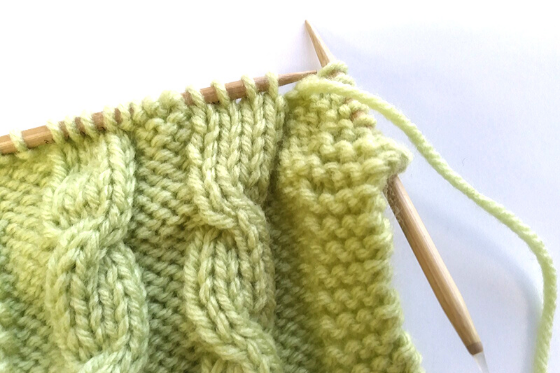
2. Slip the next two stitches off of your needle and keep them in front of your work.
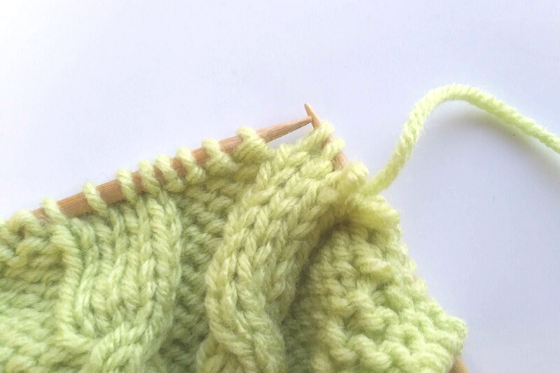
3. Slip the next two stitches onto your righthand needle.
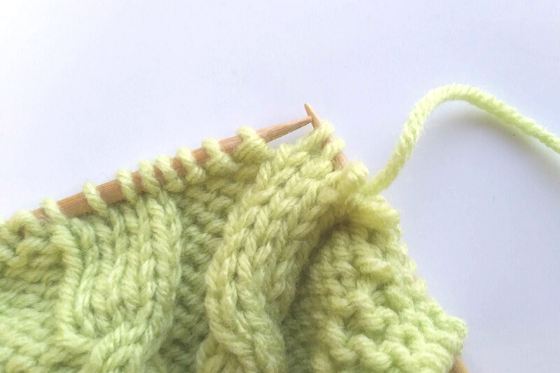
4. Take the loose, live stitches that you slipped in step 2, and slip them back onto your lefthand needle.
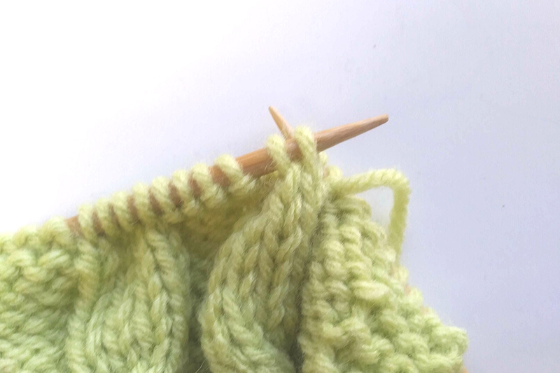
5. Take the stitches you slipped onto your righthand needle in step 3, and slip them back onto your lefthand needle. You'll notice you have successfully changed the order of the stitches on your lefthand needle.
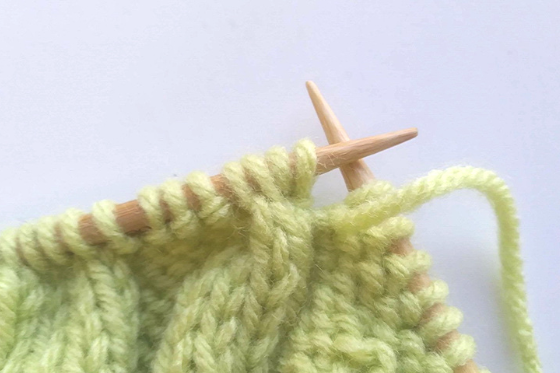
6. Knit across these 4 stitches in their new order.
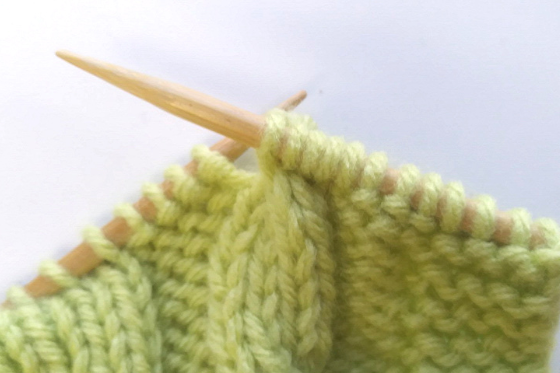
C4B (Cable 4 Back) Without a Cable Needle:
1. Work to the point in your pattern where you're meant to make your cable.
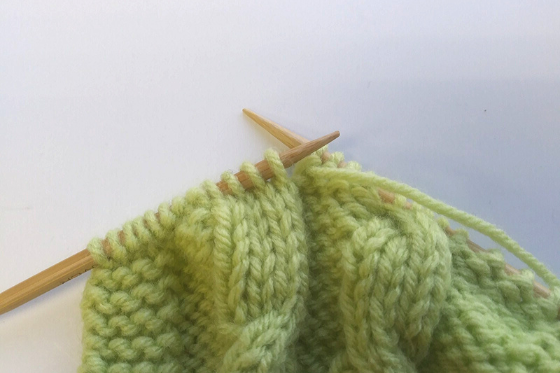
2. Slip the next two stitches off of your needle and keep them in back of your work.
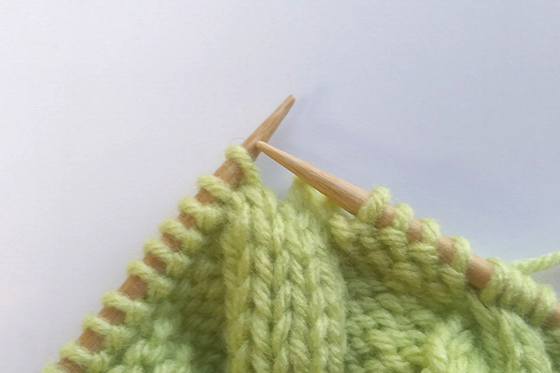
3. Slip the next two stitches onto your righthand needle.
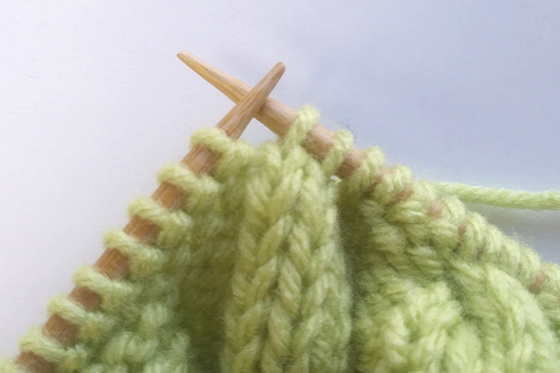
4. Take the loose, live stitches that you slipped in step 2, and slip them back onto your lefthand needle.
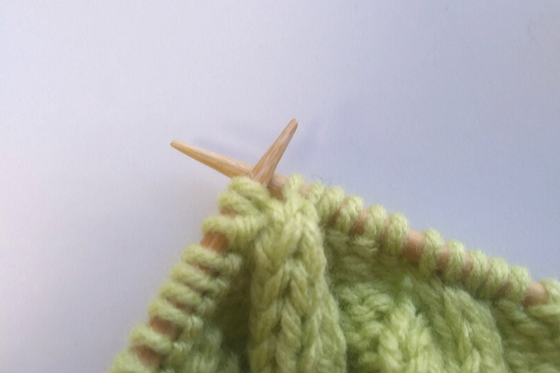
5. Take the stitches you slipped onto your righthand needle in step 3, and slip them back onto your lefthand needle. You'll notice you have successfully changed the order of the stitches on your lefthand needle.
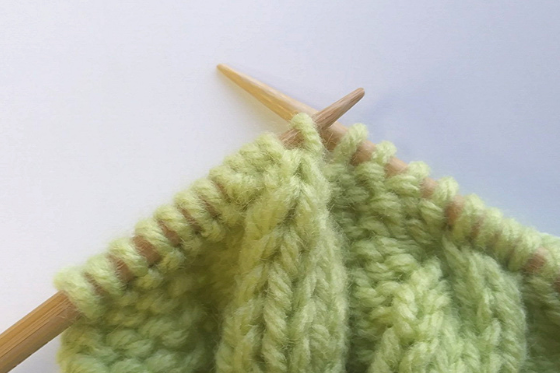
6. Knit across these 4 stitches in their new order.
Cable Needle Alternatives
Would you believe me if I told you I've never purchased a cable needle in my life? While the unique shape of a cable needle does make the stitches you're manipulating feel much more secure, I've always just trusted a spare double-pointed needle to do the job. Any lengthy, tubular object can do the job as a cable needle alternative, but a standard single-pointed needle will not work due to the big stops at the bottoms of the needles. Remember that you must be able to slip stitches off of either side of your needle. Check out our list below for some excellent cable needle alternatives.
- Cable needle
- Pencil (be sure your gauge is loose enough for this!)
- Tapestry needle
- 9" circular knitting needles (longer, if you have patience!)
- An unraveled paper clip
- A crochet hook, roughly the same size as your knitting needles
- Bobby pins
Up Next:
Knitting Needle Alternatives
What do you cable with when you don't have a cable needle?
Read NextHow to Knit a Hat


