How to Knit Ribbing
Used in almost every knitting pattern you'll find, ribbing has many uses. Here's how to knit ribbing and some tips and tricks, too!
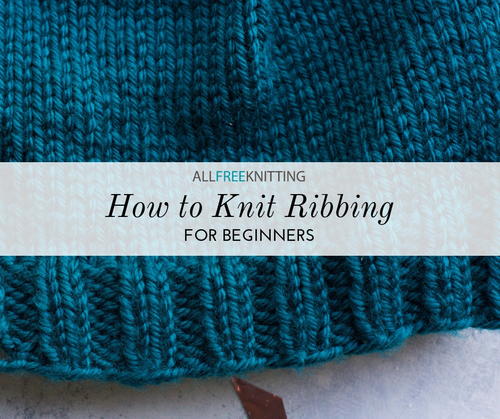
Unless you're knitting a very basic scarf or a shawl, it'll be a challenge to find a knitting pattern that doesn't involve some kind of ribbing.
In particular sock patterns and hat patterns use ribbing in a very utilitarian way; the push and pull of the knit and purl stitches in ribbing creates a fabric that's secure but extra stretchy, which makes it perfect for the brims of hats or the legs of socks to help them in place comfortably.
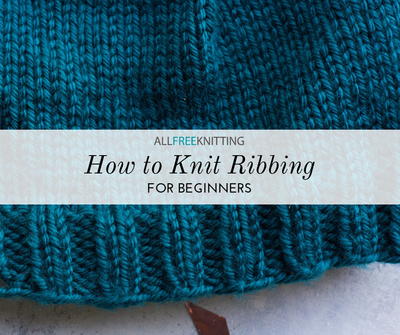
At its core, ribbing in knitting is simply just switching back and forth between knitting and purling and then mirroring that pattern on the wrong side of your work. This creates alternating columns of knit and purl stitches that somewhat resemble ribs.
There are also many more advanced variations on ribbing, too, that open up a whole world of fun brioche and fisherman's rib patterns that weren't there before. You can find even more variations on ribbing in this section of our Knitting Stitches Library.
How Ribbing Works
For beginner knitters, ribbing can often seem like magic; if all you've knitted is garter stitch, you've probably not ever encountered the dreaded curl of stockinette stitch. But even more perplexing than stockinette is how simply switching between knitting and purling can create the gorgeous ridges of rib stitching.
Ribbing works by using the curve of knit stitches to its advantage to make the texture pop. Knit stitches have a particular way that they bend in relation to the stitches around them; if you're looking at a knit stitch from the V side, the top and bottom curl towards you and the sides curl towards the back. This is why stockinette curls, ribbing sticks out, and ridge stitches let the V-sides of your stitches sink to the back of your work. Likewise, having the even placement of knit and purl stitches helps knitted fabric lay flat, like in garter stitch and seed stitch.
How to Knit Basic Ribbing
The most common types of ribbing are 1 by 1, 2 by 2, and 3 by 3 ribbing. Occasionally, you'll see 4 by 4 ribbing in patterns, but it's rarer because having four stitches in a row of each part of the ribbing makes the pattern harder to see.
These simple ribbing patterns only have two rows to remember, and they're super easy. Here's how to do them:
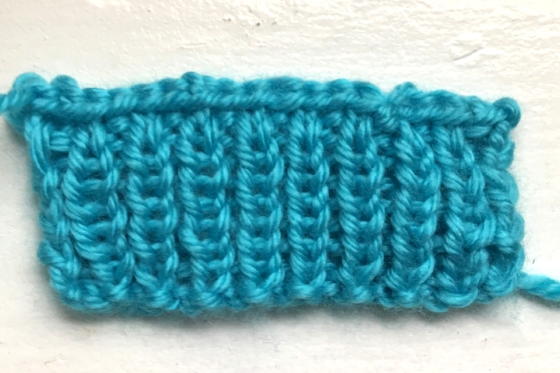
1 by 1 Ribbing:
With an even number of CO stitches:
Row 1 (RS): *K1, p1, repeat from * to end of row
Row 2 (WS): *K1, p1, repeat from * to end of row
With an odd number of CO stitches:
Row 1 (RS): *K1, p1, repeat from * to end of row
Row 2 (WS): *P1, k1, repeat from * to end of row
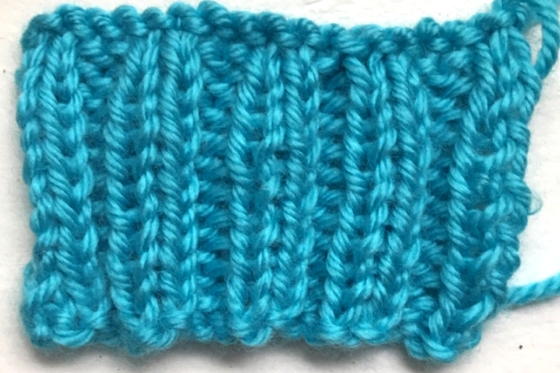
2 by 2 Ribbing:
CO a multiple of 4 sts
Row 1 (RS): *K2, p2, repeat from * to end of row
Row 2 (WS): *P2, k2, repeat from * to end of row
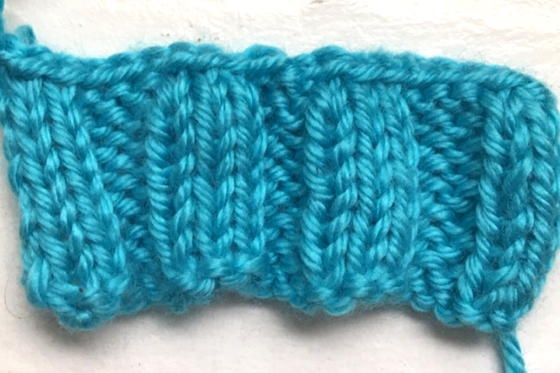
3 by 3 Ribbing:
CO a multiple of 6 sts
Row 1 (RS): *K3, p3, repeat from * to end of row
Row 2 (WS): *P3, k3, repeat from * to end of row
Tips and Tricks for Knitting Ribbing
- When switching from knitting to purling, try this extra step. When you finish knitting and are ready to switch back to purling, purl the first stitch and then bring the yarn back to the back side of your work. Tug on your working yarn to tighten up the purl stitch and then return the yarn to the front to continue purling. This will even out the tension of your stitches. Switching from knitting to purling is where most tension problems happen in knitting, and paying extra attention to this when you're doing ribbing can make a huge difference.
Note: This same problem doesn't usually happen when switching from purling to knitting.
- Try combination knitting! Combination knitting is a method of combining both Eastern and Western method of knitting. If you're reading this article, there's a good chance you learned to knit with the Western method; however, in certain parts of the world, Eastern is far more common. The basic difference between these methods has to do with the placement of the leading and lagging legs; Western knitting puts the leading leg in the front for both knitting and purling, and Eastern knitting puts the leading leg in the back for both knitting and purling.
Combination knitting, on the other hand, uses the Western orientation for knit stitches and Eastern orientation for purl stitches. The reason this helps with ribbing is that, with the purl stitches, the amount of yarn needed to wrap around the needle is smaller because you don't have to continually move the yarn from the back to the front. That movement is what often makes purl stitches look loose and lopsided. Here's a basic rundown of the differences between Eastern, Western, and Combination knitting.
- Keep your hold consistent. There are five basic knitting styles, and while it doesn't matter which one you use, switching between different methods can drastically change your tension and, thus, the evenness of your ribbing.
- Use smaller needles! This is one of my favorite knitting lifehacks. When you're knitting ribbing that's used in a garment like a hat or socks or sleeves, you're probably going to want it to be a little snugger. Often ribbing will flare out more than other stitches, like stockinette, so knitting your ribbing with a needle one size smaller will make the gauge of your ribbing match that of the rest of your garment. If you want your ribbing to pucker a little more and be tighter than the rest of your fabric, go two sizes down from the needle size recommended for the rest of your pattern.
Ribbing in the Round
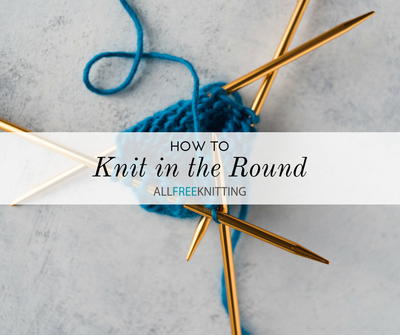
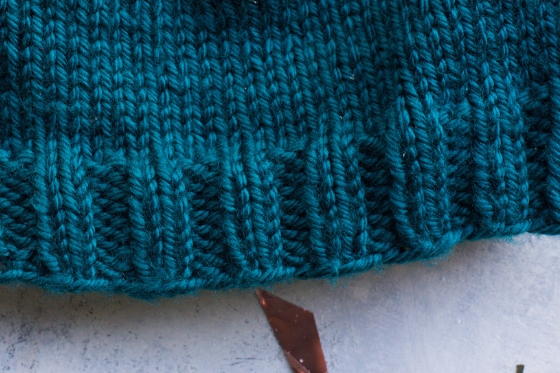
Converting these ribbing patterns into the round makes them even easier to knit! If you're new to knitting in the round, you might not know that there are no wrong sides.
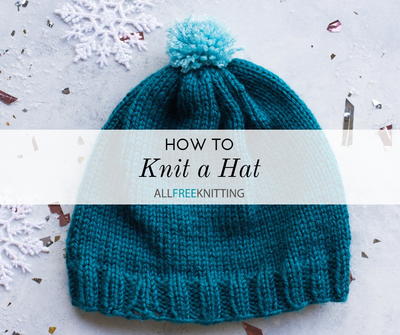
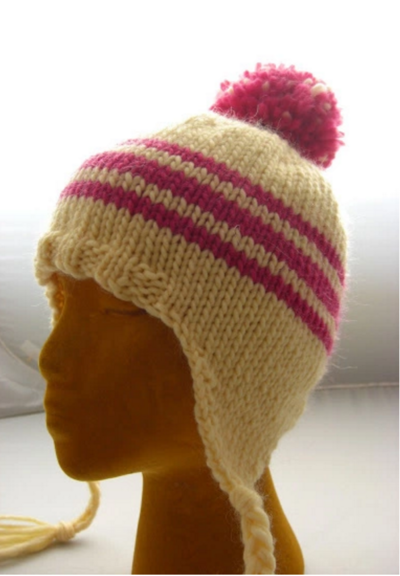
Because of this, the three types of ribbing stitches shown above are super easy to covert in the round. All you have to do is remove the second (wrong side) row from your pattern and repeat the first row until your ribbing is the desired length. You can give this a try with this super simple hat pattern for beginners:
How to Knit Ribbing In the Round
Advanced Knitting Ribbing Variations
Ribbing can also be more than just knitting and purling. There are many variations on ribbing that produce sightly more complicated patterns, but they all have their purposes. Three big ribbing variation styles are the mistake stitch, the fisherman's rib stitch, and brioche stitch.
Mistake Stitch
The mistake stitch is very easy to knit, and some might even say it's easier than some more basic rib stitches. Part of what makes it so easy to knit is the fact that it's just a one-row repeat; both the wrong side and right side are exactly the same.
Full Tutorial
Fisherman's Rib
Afraid of Brioche but love that squishy look and feel? Fisherman's rib is your best friend. This stitch also looks a little bit like a simple knit-one-purl-one rib stitch, but it's actually much thicker and stretchier, which makes it extra warm. This rib variation does involve a lot of purling as well as a k1b stitch, but don't worry -- it's all much easier than it sounds.
Full Tutorial
Brioche Stitch
Brioche has a bit of a reputation for being difficult and somewhat show-offy, but it's often just the strange vocabulary that trips people up at first. Once you get into a little rhythm, brioche is just as simple as any other knitting technique. Two-color brioche is wildly popular right now, and you can create some very intricate patterns with only a few increases and decreases.
Full Tutorial
With ribbing, the possibilities are truly endless!
How will you incorporate ribbing into your next pattern?
Your Recently Viewed Projects
Joy
Sep 19, 2020
Your instructions are off for the 2x2 and 3x3 ribbing. If you're knitting 2x2 on a multiple of four stitches, you will end with 2 purl stitches, so your wrong-side row should start with 2 knit stitches. If you're working 3x3 on a multiple of six stitches, you'll end with three purls, so the second row would start with three knits. So basically, you use the same pattern for right and wrong side rows.
Report Inappropriate Comment
Are you sure you would like to report this comment? It will be flagged for our moderators to take action.
Thank you for taking the time to improve the content on our site.

