How to Seam Knitting: 7 Methods
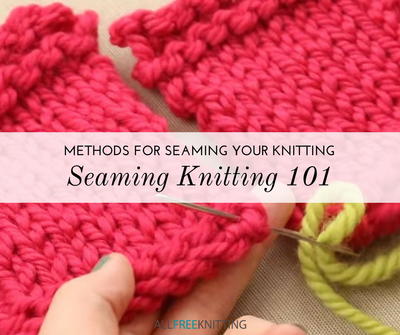
From kitchener stitch to mattress stitch knitting, you will learn how to sew knitting edges together.
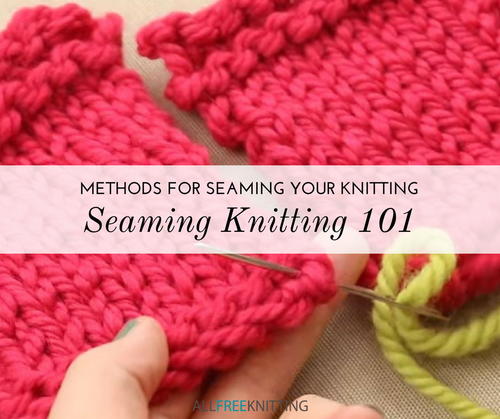
Seaming knitting can be intimidating. You have finished the pieces for your project, but now they have to come together. What will you do?
Whether you are making knit hats, socks, scarves, sweaters, or home decor, knowing how to seam knitting and which seam is best will be an important skill. The method you use to seam will depend on your project, since every project has different requirements and uses.
How to Seam Knitting: 7 Methods will help you pick the right seaming method for you. Make sure your projects are the best that they can be by choosing the right seam.
From seaming as you bind off to using crochet stitches to seam, you will get the full picture of seaming knitting. Plus, at the very end is a list of projects that will require you to practice your seaming!
But first—knitting tips for all seaming knitting methods!
For more great projects like this, subscribe to our free email newsletter!
Tips for Seaming Knitting
- If you can, leave a tail after you bind off so you don’t need to worry about attaching a new piece of yarn to seam with.
- Use the same yarn or a yarn that has the same washing instructions as the rest of your project. It would be a bummer if your seam shrunk and bunched up your project.
- Block pieces before you sew them together, especially with knitted garments. This will ensure that the pieces are matching up exactly the way you want. Be sure to learn the best way of blocking knitting for your project.
- Make sure your stitches are firm, but not too tight. It's important to learn how to seam knitting with little give to avoid ripping at the seams with rough use.
- No matter what seaming method you use, be sure you are entering into the same place on each stitch along the seam. This consistency makes it harder to see the seam.
Method 1: Kitchener Stitch Seam (Invisible Horizontal)
Kitchener stitch is a live cast-off seaming method that creates a new row of knitting between your two edges, so it just looks like another regular pattern row. If you want something to look perfectly seamless, this stitch will do it, without even a ridge on the fabric’s wrong side. In fact, there really is no wrong side when you do a live cast-off with Kitchener stitch.
It is possible to seam your pieces as you cast them off, it just requires that you keep both pieces of your project “live” until they’re ready to go together. A live cast-off and seam can be great when you have a project where the pieces are joined going the same direction. This makes it the perfect seam for things like cowls or socks, where a chunky seam could be obvious or uncomfortable. However, because it is not a regular seam, it does not have the strength that you might need in the shoulder seam of a sweater.
The video below shows how to complete Kitchener stitch with a stockinette stitch pattern. However, it can be tweaked to work with any other stitch. Check out our full tutorial for Kitchener stitch!
Method 2: Mattress Stitch Seam (Invisible Vertical)
Although it’s great to be able to cast off at the same time as seaming, that’s not always possible, or depending on the pattern you have, it might be harder. That’s why it’s good to learn a way of seaming after casting off as well!
Mattress stitch, or invisible vertical seaming, is by far the most common of the after cast off seaming methods. It is also super easy. This is the joining method to use if the edges of your work look a bit sloppy or loose, since those stitches will be lost to the back of the seam.
Mattress stitch will only work when you are seaming together two pieces side by side. The seam will look invisible from the right side, but you will have a ridge on the wrong side.
You work this seam through the “bars” of stockinette stitch or the “bumps” of garter stitch. This How To: Mattress Stitch video from AllFreeKnitting.com will focus on stockinette stitch. You can seam through one of two bars of stockinette stitch at a time, depending on what you like.
In order to work this seam with garter stitch, thread your needle from the bottom bump of one piece to the top bump of the corresponding stitch on other piece. Continue this bottom-top pattern until you reach the top of your seam. Visit knitty.com for invisible vertical seaming on garter stitch.
Method 3: Three-Needle Bind Off Seam
The Three-Needle Bind Off is a bit easier than Kitchener stitch, and it creates an actual seam on the project. Similarly to Kitchener stitch, the three-needle bind off method is a live cast-off method, so this type of seaming is done before the stitches are bound off.
This method of seaming knitting is not completely invisible, and it leaves a little ridge on the back, but it’s a great way to make a stronger seam without casting off first! This method, obviously, uses three needles to complete the seam, and although the seam will be somewhat visible in the finished item, this is sometimes used as a design element in the project itself. Visit purlsoho.com to watch a three-needle bind off tutorial to learn how to seam knitting in this fashion.
Method 4: Whip Stitch Seam
Whip stitch is a super easy way to join your pieces. When made in the same color yarn as your edges, it is nearly invisible, and can be used for pieces in any orientation.
The video tutorial below will show you how to use a whip stitch join to turn a scarf into an infinity scarf!
Method 5: Backstitch Seam
For a bulky, but strong, seam, backstitch is the way to go. This method has a similar feel to hand sewing, but it doubles back on itself to increase the seam's strength.
Check out this article from letsknit.co.uk to learn how to do a backstitch seam.
Method 6: Slip Stitch Crochet Seam
Even if you are not a crocheter, you can easily learn these crochet stitches to use as easy seams. These seams will be visible on the wrong side, so that is something to keep in mind as you consider a seaming method.
Check out Interweave's fabulous slip stitch crochet seam tutorial.
Method 7: Overcast Stitch Seam
The overcast stitch seam is often used for afghans, shawls, and scarves because it's flat and reversible! This seam works by joining the two pieces of fabric by their edges to create a discrete seam that's the same on both sides.
This video tutorial from Bernat for how to do the overcast stitch is a great way to learn this fun technique!
Knitting Patterns for Practicing Seaming
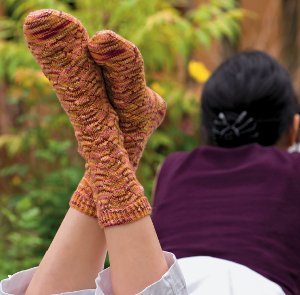
Kitchener Stitch: Serendipity Socks
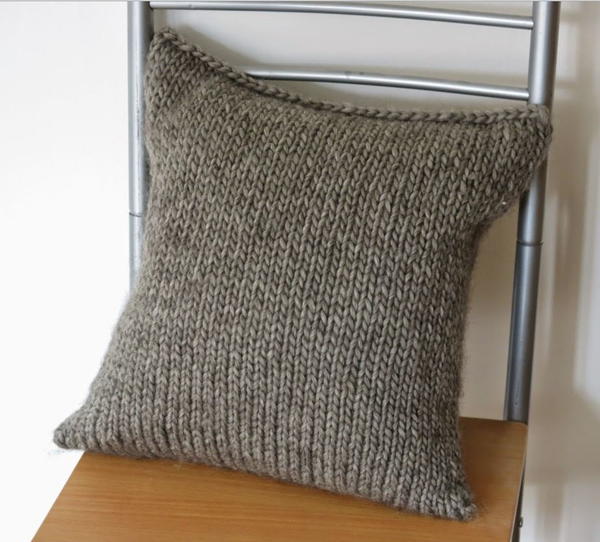
Three-Needle Bind Off: Simple Seamless Cushion Cover
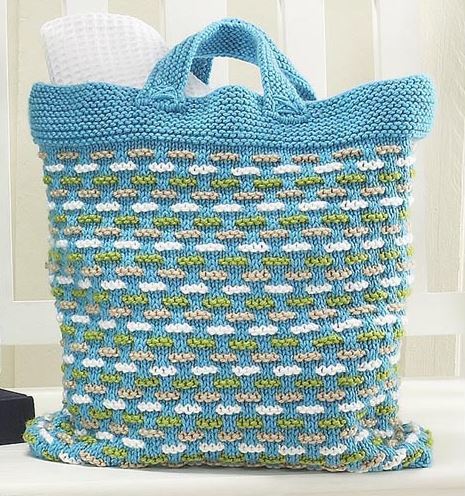
Mattress Stitch: Summer Escape Knit Bag
Mattress Stitch: Basketweave Sparkle Knit Beanie Pattern

Whip Stitch Join: Moonlight Buttoned Headband

Up Next:
Try Thrum Knitting
Do you have any tips for seaming knitting?
Your Recently Viewed Projects
RachelAnne
Jul 31, 2017
These tips are wonderful! I've done some pretty terrible seams in my knitting, so I'm looking forward to trying some of these techniques.
Report Inappropriate Comment
Are you sure you would like to report this comment? It will be flagged for our moderators to take action.
Thank you for taking the time to improve the content on our site.

