Suspended Bind Off Tutorial
Beginners learning new methods of binding off will love the similarity of this technique to the knit bind off.
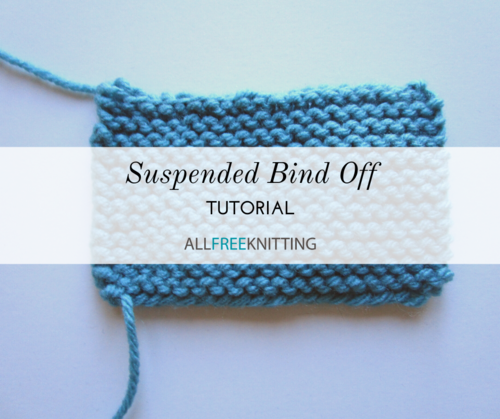
Many of us first learn how to finish our knitting using the knit bind off method. While this easy bind off method is adored by many, some complain that it isn't stretchy enough. The suspended bind off is similar in instruction but is proven to be a much more elastic bind off, ideal for new knitters trying to finish up edges on wearables or cozies, where the completed end must stretch to accommodate the wearer. Being a bit more obscure, even seasoned knitters who may not have tried the suspended bind off before will find that it becomes their new go-to quick bind-off method for basic projects.
Step 1
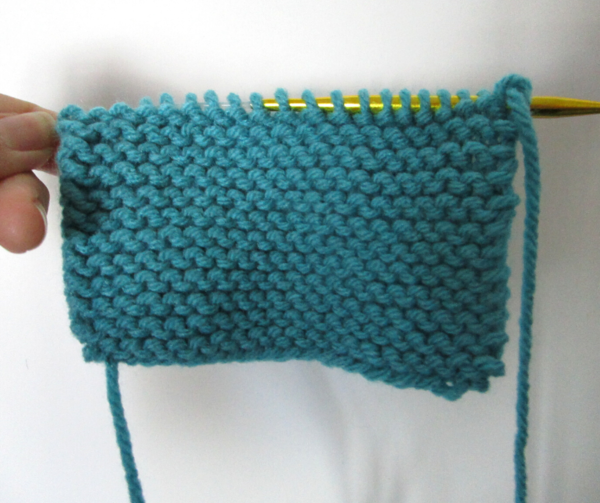
Complete your knitting, other than binding off. Hold your knitting as if you're about to knit another row or round.
Step 2
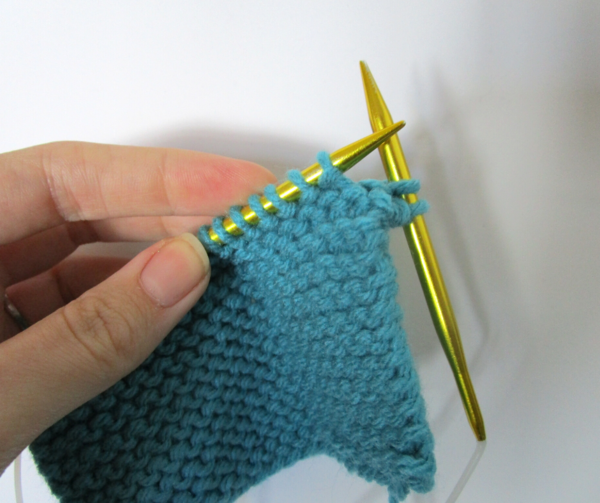
Knit the first two stitches.
Step 3
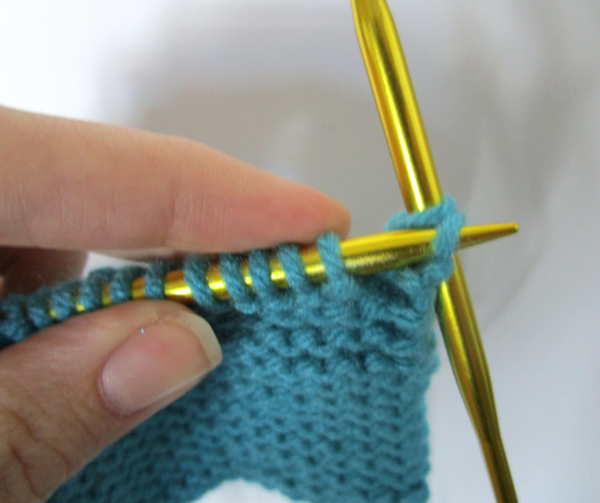
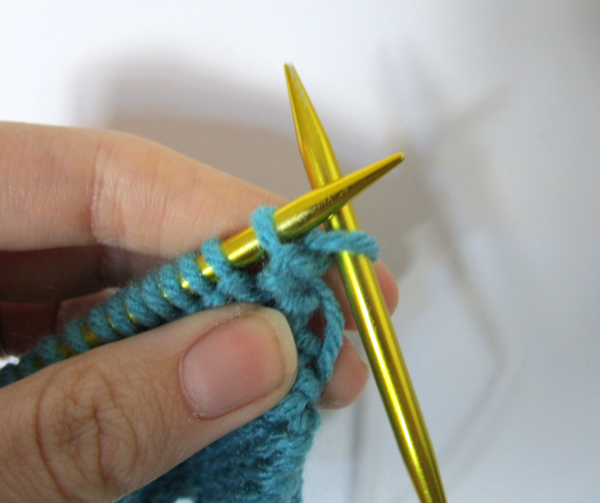
Insert your lefthand needle into the first stitch on your righthand needle and slip it off. Don't drop the stitch like you would in a knit bind off; simply leave it on your lefthand needle.
Step 4
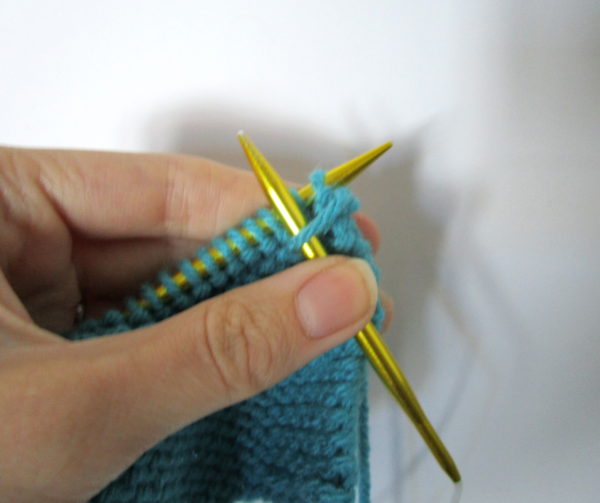
Pivot the tip of the righthand needle around to the front of your work.
Step 5
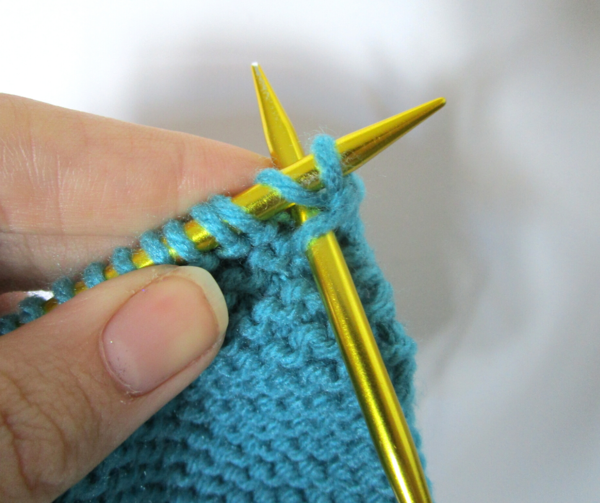
Insert the righthand needle onto the second stitch on the lefthand needle knitwise—that is not the stitch you slipped off in step 3, but the next stitch.
Step 6
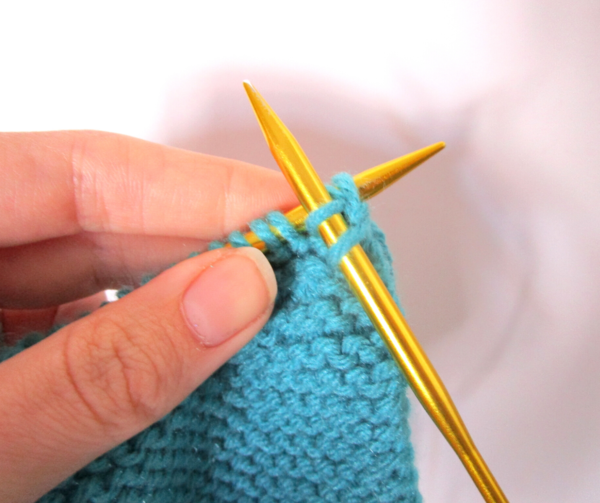
Knit this stitch.
Step 7
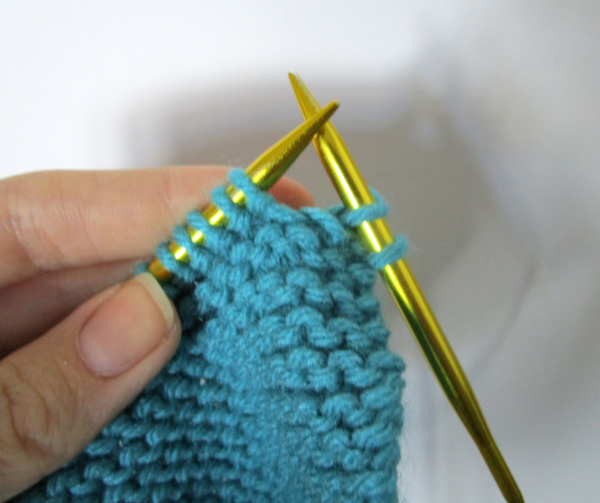
Slip first 2 stitches off of the lefthand needle. You once again have two stitches on your righthand needle.
Step 8
Repeat steps 3-7 until only two stitches remain on your righthand needle.
Step 9
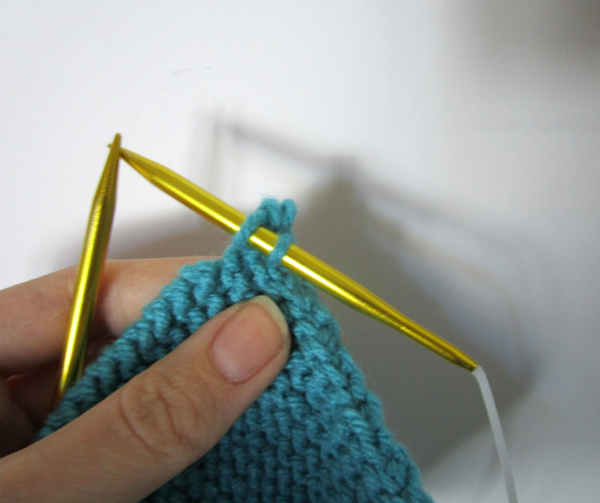
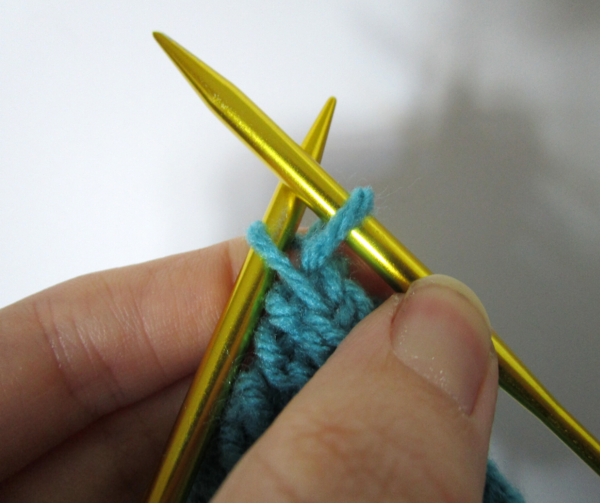
As with a knit bind off, slip the first stitch on the righthand needle off over the second stitch. One loop remains on your needle.
Step 10
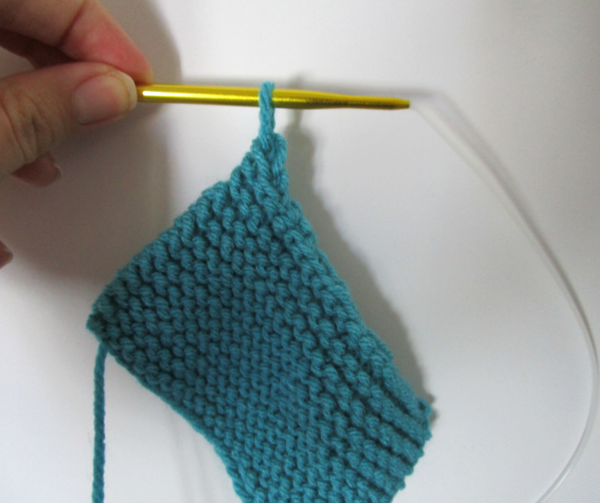
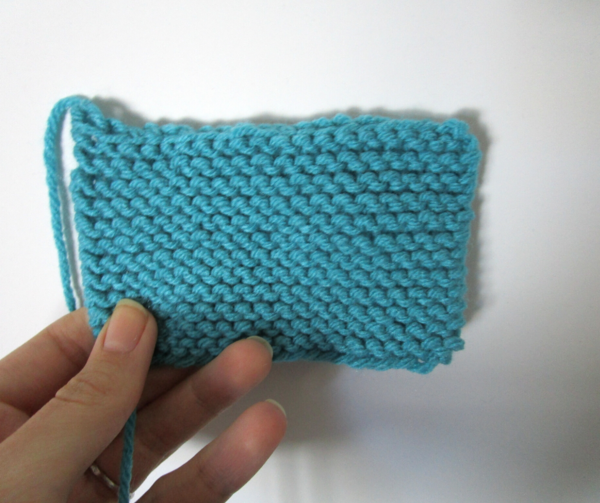
Cut your yarn and pull through remaining stitch.
Up Next:
More Bind Off Methods
Which bind-off method did you learn first?
Read Next10 DPN Knitting Patterns

