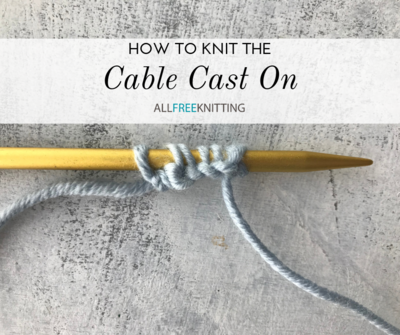
How to Knit the Cable Cast On Method

The cable cast on method is a simple cast on that's both visually and technically very similar to a simple knit cast on, or two-needle cast on. There is just one key difference that makes this method that gives it its distinct, rigid structure. A benefit of the cable cast on method is that it doesn't require a long tail or any intermediate skills.
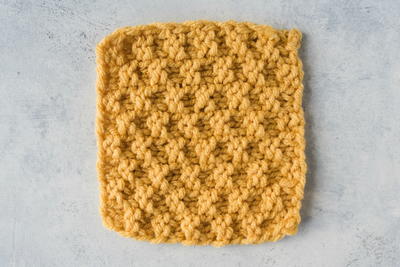
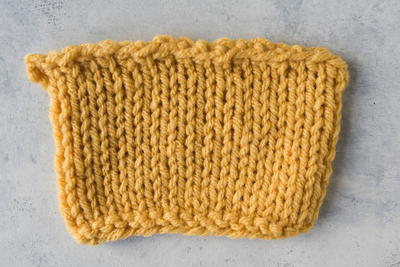
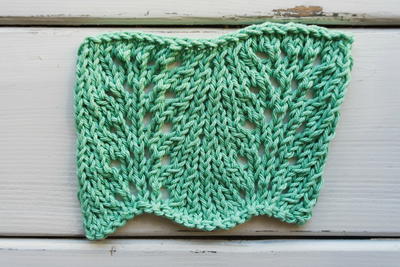
Since this cast on creates a very solid, inflexible edge, it's a great method for beginning amigurumi, dishcloth patterns, or other non-wearables.
Check out the step-by-step instructions below to learn how to knit this easy (and useful) cast on.
Step 1
Create a slip knot and place it on the lefthand needle. Insert your righthand needle knitwise into the slip knot.

Step 2
Pull working yarn around your righthand needle counterclockwise, as if to knit.

Step 3
Pull the yarn through, like you do when knitting a stitch.

Step 4
Place this new stitch on your lefthand needle, like you do with the knit cast on method.

Step 5
You now have two stitches casted on: the slipknot and the stitch you just created.

Step 6
Insert your needle in the gap between these two stitches—not in the most recently created stitch—knitwise.

Step 7
Again, wrap your yarn around your righthand needle as if to knit.

Step 8
As in step 3, pull your yarn through where you inserted your righthand needle to create a new loop.

Step 9
Place the newly created stitch on your lefthand needle.

Step 10
Continue repeating steps 6-9 with the two newest stitches on your lefthand needle until you have the number of stitches cast on that your pattern calls for.

Read NextHow to Knit the Cable Cast On Method