Hocus Pocus Wristlets
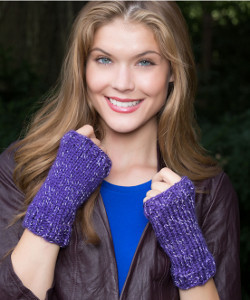
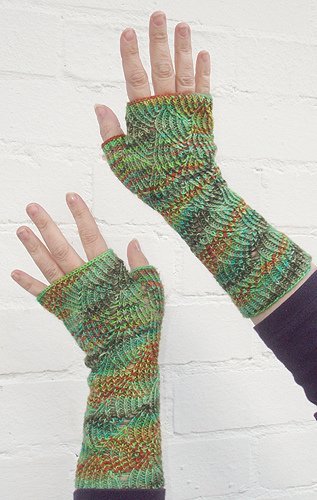
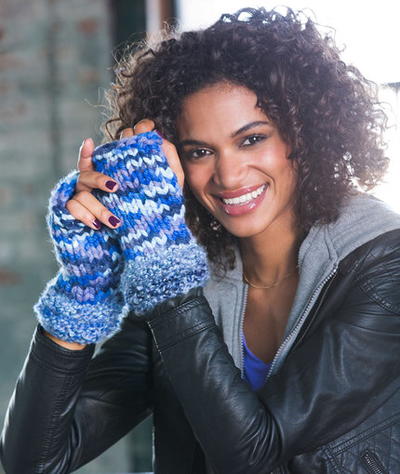
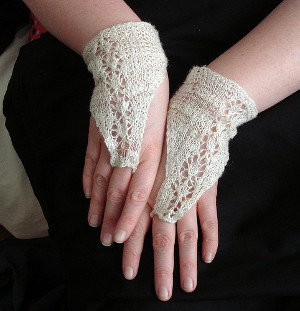
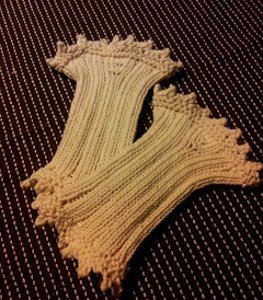
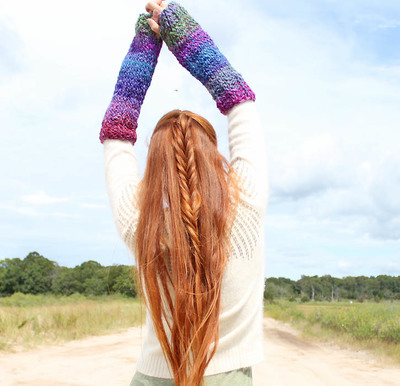
Knitting is like magic. A single long piece of yarn is transformed into a beautiful new accessory or article of clothing. Create something magical with these Hocus Pocus Wristlets. This fingerless gloves knitting pattern is quite simple and is sure to be some easy knitting for beginners wanting to broaden their horizons and learn how to knit wristlets. These beautiful knit accessories are sure to dazzle your friends. Everyone will wonder where you bought them. Just remember, a good magician never reveals his/her secrets. When it comes to patterns for gloves, this is a pair you don't want to pass up.

Knitting Needle Size9 or 5.5 mm
Yarn Weight(5) Bulky/Chunky (12-15 stitches for 4 inches)
Gauge1 stitches, 2 rows, 3 inches. stockinette stitch
Materials:
- RED HEART® Reflective™: 1 ball 8532 Purple (Art. E820, available in solids 3.5 oz (100g) 88 yd (80m) ball)
- Susan Bates® Knitting Needles: 5.5mm [US 9]
- Stitch marker
- Yarn needle
GAUGE: 15 sts = 4” (10 cm); 18 rounds = 4” (10 cm) in Stockinette st worked in rounds (knit every round). CHECK YOUR GAUGE. Use any size needles to obtain the gauge.
Each wristlet measures 5” (12.5 cm) long x 6” (15 cm) circumference (at widest).
Abbreviations:
k = knit
k2tog = knit next 2 sts together
p = purl; st(s) = sttich(es)
* = repeat whatever follows the * as indicated
Special Stitch:
kfb (Knit into front and back) = Knit next st but do not remove from needle, knit into back loop of same st and remove from needle
Note: Each wristlet is worked in rounds beginning at the lower (wrist) edge. Stitches are bound-off and then cast-on again to create the thumb opening.
WRISTLET (make 2)
Cast on 24 sts. Place marker for beginning of round. Join to work in rounds, taking care not to twist sts.
Lower Ribbing
Rounds 1–5: *K2, p2; repeat from * around.
Body of Wrister
Work in Stockinette st worked in rounds (knit every round) until piece measures about 3½” (9 cm) from beginning.
Shape Thumb
Round 1: Knit to last st, kfb—25 sts.
Round 2: Kfb, knit to end of round—26 sts.
Rounds 3 and 4: Repeat last 2 rounds—28 sts.
Rounds 5 and 6 (Create Thumb Opening): Knit to last 2 sts, bind off last 2 sts and first 2 sts of next round and remove beginning of round marker; knit around again to beginning of bound-off sts, cast on 2 sts over the bound-off section, replace beginning of round marker—26 sts.
Rounds 7–10: Knit.
Round 11: Knit to last 2 sts, k2tog—25 sts.
Round 12: K2tog, knit to end of round—24 sts.
Top Ribbing
Rounds 1–5: *K2, p2; repeat from * around.
Bind off.
FINISHING
Weave in ends.
Read NextSnowdrop Wrist Warmers
Your Recently Viewed Projects
composergirl23 960 6028
Dec 25, 2016
Great pattern! Except I didn't think you could bind off at the end of the row please correct me if i'm mistaken. Tips for rows 5/6?
paver2
Jan 02, 2017
Since this is knit in the round, you can. Just bind off the next four stitches (two from the last round and two from the next round) and then you are into the next round of knitting. The whole idea is to make a sort of buttonhole opening for the thumb.
Waterleaf123 69411 30
Nov 11, 2015
I am a new knitter and am confused by the pattern instructions for the thumb. When it says 'round 1' does it mean the very first round that I knitted in the lower ribbing section? Or does it mean to start a new round at the top of the wrister?
duckduck64 2604582
Nov 08, 2016
When you get to the thumb section ( after you have done the 17 knit rows) you start a new round for the thumb area. Knit all the way around and stop on stitch 34. Place the last 6 stitches PLUS the first 6 stitches you already knitted on to a stitch holder or a piece of yarn. When you start your next round you will have to pull the yarn from stitch 34 all the way over to stitch 7 as snug as possible to cover the gap from stitches 1-6 and 35-40 being held for thumb use later. Easier to show then tell...hope that helps some
duckduck64 2604582
Nov 08, 2016
Sorry - wrong pattern there - I was working on the Montgomery Pattern - not sure how the pages switched on me....my apologies!!
paver2
Jan 02, 2017
The "round one" is the first round of the thumb shaping. It's written this way because the rounds between the ribbing and the beginning of the thumb are not counted. (Just measured)
Report Inappropriate Comment
Are you sure you would like to report this comment? It will be flagged for our moderators to take action.
Thank you for taking the time to improve the content on our site.

