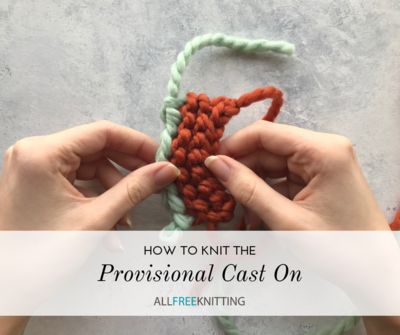
How to Knit the Provisional Cast On Method
Check out this great cast on method that lets you knit from either side!

Learn how to tackle the provisional cast on method, also known as the open cast on method, in this free knitting tutorial. This cast on method uses a length of waste yarn that is removed later to reveal stitches from your main yarn underneath. These revealed stitches are then placed back on the needle and knit in the opposite direction.
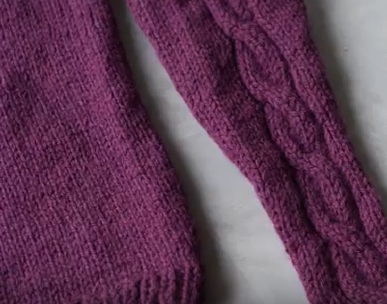
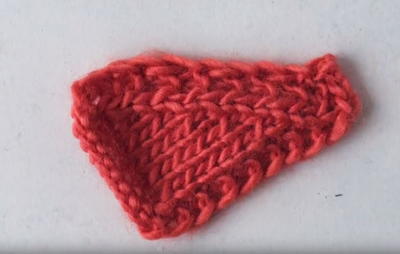
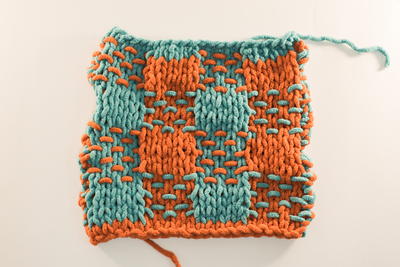
This is a great method for making hems or for knitted projects that are closed off at both ends - such as a knit toy. We also see this method a lot in triangle shawls, in which one side is worked entirely to the corner before the same cast on edge is picked up and knit to complete the other side.
Video
Check out the video below to learn how to knit the provisional cast on method, or read the written instructions for a printable, step-by-step guide.
Step 1: Make a Slip Knot
Cut a strand of waste yarn with enough length for the number of stitches you need to cast on, plus a few extra stitches. Make a slip knot and place it on your crochet hook.

Step 2: Prepare the Crochet Hook
Take your knitting needle and place it parallel to your crochet hook. Keep your working yarn behind your needle.

Step 3: Orient your Hook and Needle
Cross your needle behind your crochet hook and over your working yarn.

Step 4: Hook Your Yarn
Hook your yarn with your crochet hook in front of your needle.

Step 5: Pull a Loop
Pull a loop through your slipknot.

Step 6: Move the Yarn
Move your yarn back behind your needle from between your crochet hook and needle.

Step 7: Hook the Yarn Again
Hook the yarn once again with your crochet hook in front of your needle and pull through another loop.

Step 8: Repeat Steps 6-7
Repeat steps 6-7 until you have as many loops on your needle as the pattern calls for you to cast on.

Step 9: Crochet Your Emergency Chain
Move your yarn in front of your needle and crochet a chain of at least a few stitches to make an "emergency chain." This is what you unravel later on to create your live stitches. For more information on how to crochet a chain, watch the video, or visit our friends over at AllFreeCrochet.

Step 10: Fasten Off Chain
Pull the remaining length of waste yarn through your last chain, but not too tightly.

Step 11: Begin Knitting
You now have all of your stitches cast on, plus your emergency chain complete, and you can begin knitting off your cast on stitches with the yarn designated for your project.

Knitting From the Other Side of the Cast On
Once one side of your project has been knitted and you must pick up stitches from the other side of your cast on, take the end of your emergency chain and a needle that is slightly smaller than the one you used to knit your first side.
Step 1: Pull Remaining Waste Yarn Length
Pull the remaining length from step 12 back through the last chain the way you pulled it in. This is why you don't want to pull too tightly on step 12.

Step 2: Unravel
Start to unravel your chain.

Step 3: Reach the Edge of Your Knitting
Unravel until you reach the edge of your knitting.

Step 4: Insert Your Needle
Take your knitting needle and place it in your first stitch.

Step 5: Undo the First Chain Stitch
Pull the waste yarn so the chain which that stitch was connected to comes undone.

Step 6: Work the Next Stitch
Go under your next stitch and place your needle through.

Step 7: Undo the Next Chain Stitch

Step 8: Repeat Steps 6-7
Repeat steps 6-7. Be careful not to accidentally pick up the waste yarn as you put your needle into your stitches. After you have reached the last stitch, pull the waste yarn entirely off of your work. You are now left with all live stitches with your pattern's yarn on your needles. You are now ready to start knitting the other side of your work.

Read NextHow to Knit the Cable Cast On Method
Your Recently Viewed Projects
Thanks for your comment. Don't forget to share!
nana2six
Mar 21, 2012
Fantastic video! I've been nervous to try Provisional Cast On, but after watching this video I am quite confident that I can do this with no problem. Thanks!
Report Inappropriate Comment
Are you sure you would like to report this comment? It will be flagged for our moderators to take action.
Thank you for taking the time to improve the content on our site.