How to Knit Wrist Warmers
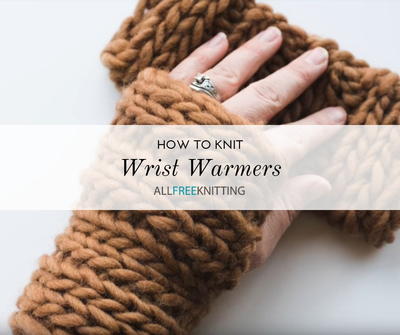
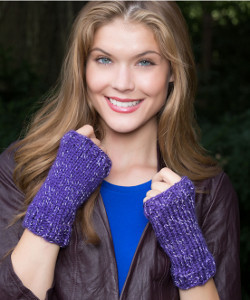
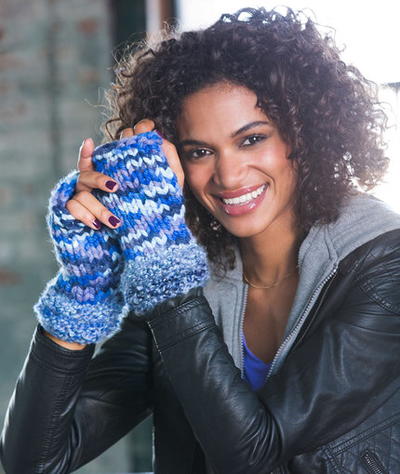
These easy-to-knit wrist warmers use roving yarn to be extra soft and warm!
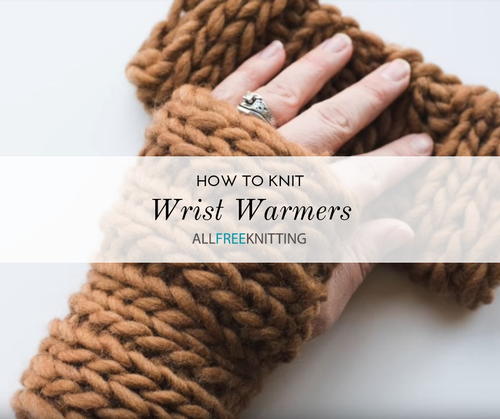
These roving yarn wrist warmers are so simple to make, you'll barely believe it when they're done. This particular pattern uses a 2 x 1 rib stitch to make a thick and soft fabric.
If you're worried about knitting in the round, never fear. These wrist warmers are knit completely flat! At the end, the two ends of yarn are used to connect the two ends of the wrist warmers in a tube shape, which means that you don't need to weave in your ends, either!
Watch and Learn
Materials
- Yarn of your choice.
- Corresponding knitting needles for that yarn.
- A tapestry needle
- Scissors
For the purposes of this tutorial and in the video, we used Gazzal Pure Wool roving yarn. This is a jumbo (weight 7) yarn that uses size 17 or 12.75 mm knitting needles to reach the appropriate gauge.
Step 1: Determining the Number of Stitches to Cast On
In the video above, we used a jumbo yarn that's great for items that you want to be extra warm. That said, you can really use any weight yarn you'd like.
You will want these wrist warmers to be about 7 inches long. Look at the gauge section of your yarn's label to determine how many stitches you should cast on in order to get a 7-inch wide piece of fabric.
With the jumbo yarn we used in this example, we needed to cast on 14 stitches. Naturally, the lighter yarn you use, the more stitches you will need to cast on.
If you're new to gauge and swatching in knitting check out our complete tutorial here:
Step 2: Casting On
Begin your wrist warmers by casting on the number of stitches required (see step 1) using the longtail cast on method.
Important Note: When you cast on, be sure to leave a very long tail of yarn, beyond what you will need to complete your cast on. This tail of yarn will be used later to seam the two sides of your wrist warmers together.
Step 3: Knit the Body of Your Wrist Warmers
Now comes the fun part: deciding the stitch pattern you're going to use for your wrist warmers!
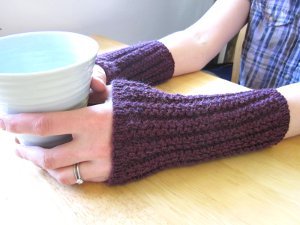
For the example in the video above, we used a simple 2-over-1 rib stitch, which makes the wrist warmers extra thick and warm. But you can really use just about any stitch you'd like.
Here's the pattern we used:
Row 1: sl 1 f, *k2, p1; rep from * to last st, k1.
Row 2: sl 1 f, *k1, p2; Rep from * to last st, k1.
Not sure what stitch you want to use? Check out our knitting stitches library:
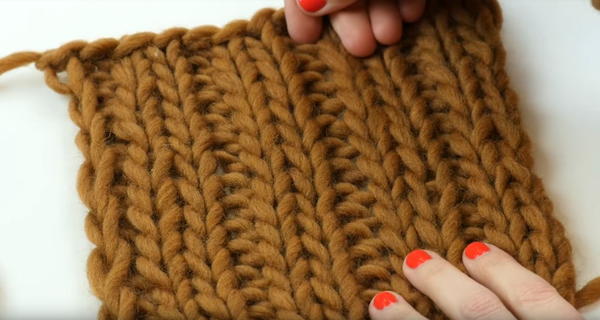
Once you've decided your stitch, continue in that stitch pattern until you've got a rectangle that's roughly 7 inches by 6 inches. You can adjust these measurements for smaller wrists; however, 6 inches wide should work for most adult wrists.
Step 4: Binding Off
Once your rectangle has reached the desired length, it's time to bind off!
Important Note: Just like with your cast on, it's important to leave an extra long tail with your bind off for these wrist warmers. This will be used in the next step to seam the two sides of your wrist warmers together.
Step 5: Seaming
This is perhaps the trickiest part of this pattern, but don't let that intimidate you! Below we will take you step-by-step through the seaming process.
- Fold your rectangle into a tube with the right side of your work facing out.
Note: One benefit of using the 2-over-1 rib stitch we chose is that the rows of your work will align very easily, which makes seaming even easier.
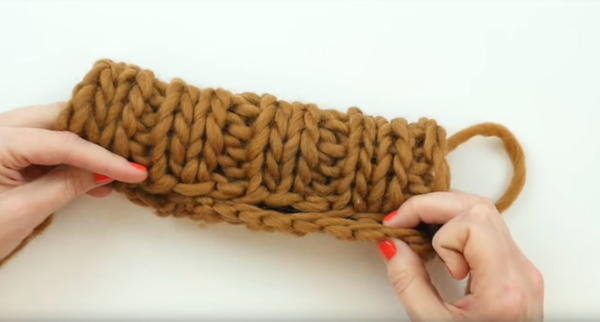
- Thread one of your long ends of yarn through your tapestry needle.
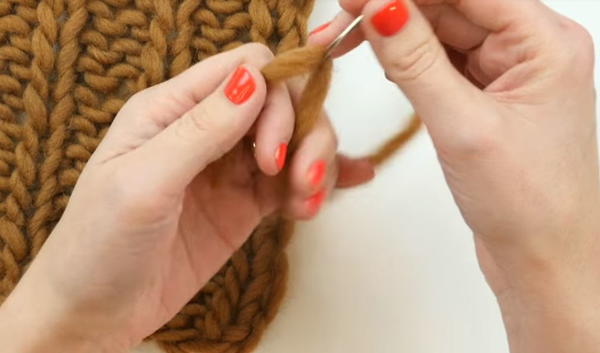
- Bring your tapestry needle through the top of the stitch you want to work into and underneath the corresponding stitch on the other end of your fabric.
Pull the yarn through and tighten.
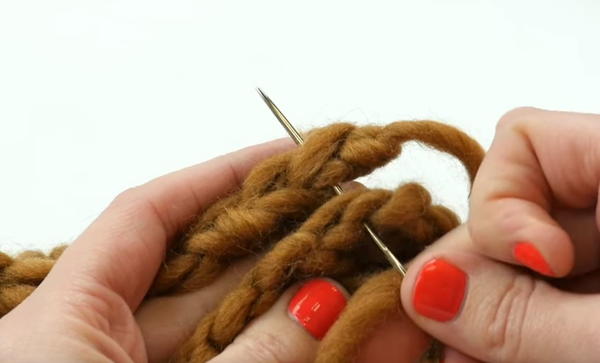
- Repeat step 3 for the next column of stitches until you have seamed about 4 inches up the side of your wrist warmers.
In this example, we stopped after the second set of rib stitches. This is where the thumb hole will begin.
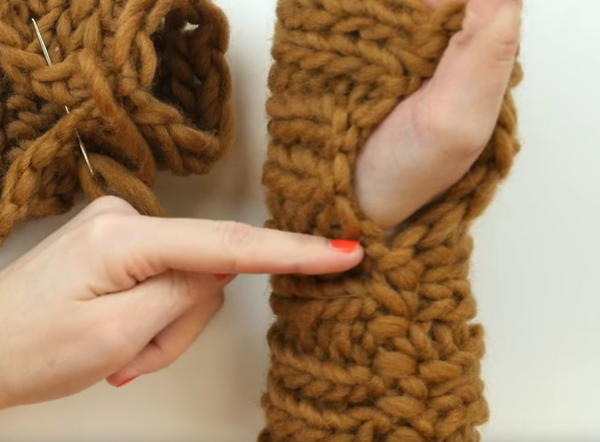
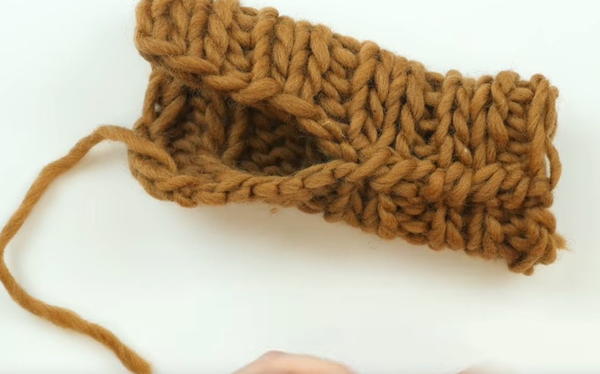
- Threat your other long tail of yarn from the opposite end of your rectangle through your tapestry needle.
You will only seam this end for about 1 to 1.5 inches. This should give you a hole for your thumb that's roughly 2 to 1.5 inches wide.
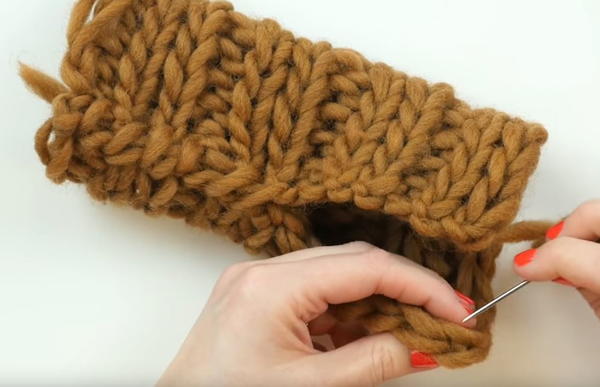
Step 6: Weaving In the Ends
Once you've finished your seaming and your thumb hole is the desired size, turn your wrist warmer inside out and weave in the ends.
You can also use the duplicate stitch to weave in your ends!
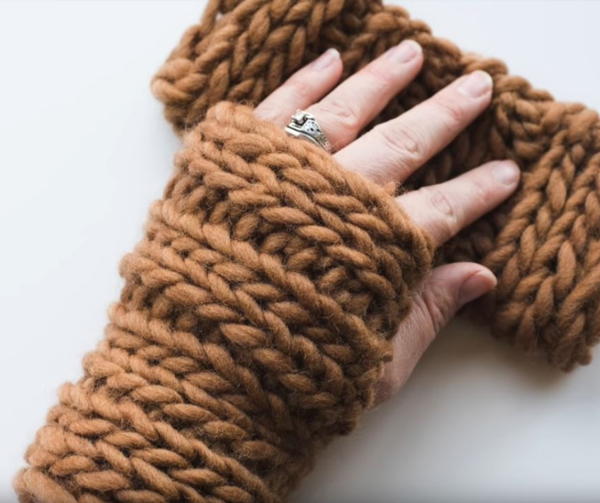
Congrats! Once your ends are woven in, you've completed your wrist warmers.
Up Next
How to Knit a Hat for Beginners
Did you make these wrist warmers?
Let us know in the comments below!
Your Recently Viewed Projects
RachelAnne
May 04, 2018
These look SO cozy. I love roving yarn, and these could be so soft and delicate in pink or aqua.
Report Inappropriate Comment
Are you sure you would like to report this comment? It will be flagged for our moderators to take action.
Thank you for taking the time to improve the content on our site.

