How to Knit a C6F Cable
This easy knitting video will teach you how to do the C6F in knitting, but you can apply this technique to just about any cable stitch
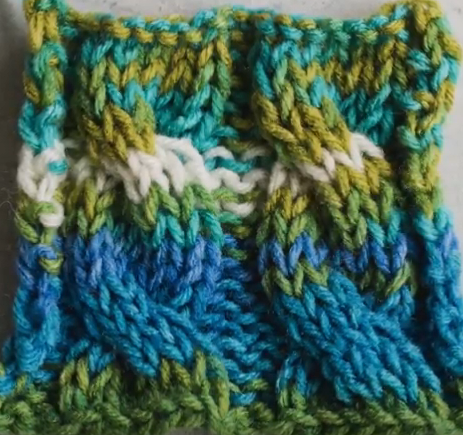
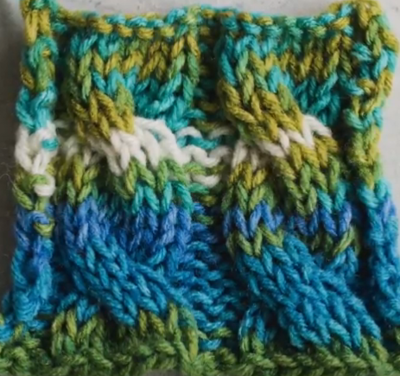
From sweaters to scarves, the cable stitch is one of the most popular ways to add decoration to your knitting. In this video, you'll learn how to knit the cable stitch that will give you a simple six-stitch-wide twisted cable that you can add to just about any garment. This is often written as C6F in knitting patterns, although you could easily do the same technique on a rib stitch that's 4 or 5 stitches wide. Similarly, by changing the direction that you lay the cable needle (in the front vs. in the back), you can change the direction that the cable twist lies.
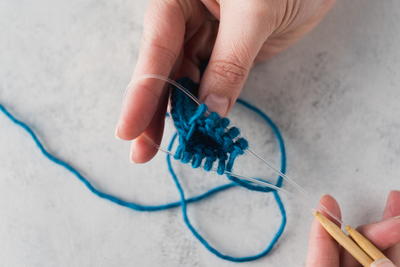
To do cable knitting, you will need a special needle. In the video, a double pointed needle was used, but a hooked shaped needle or other types of cable needles will work just as well. The important thing to keep in mind with cable needles is that the needle should be the same size or smaller than your regular knitting needles; if your cable needle is bigger, the stitches will stretch out.
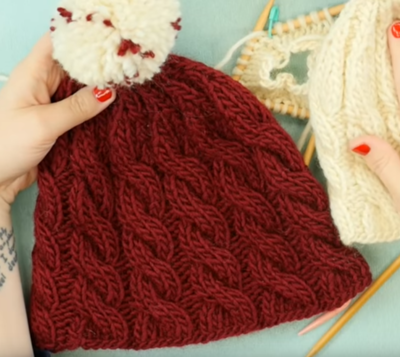
The knit pattern swatch was worked on worsted weight yarn with size 8 needles, but if you want a chunkier pattern you can make cables with a bulkier yarn and an appropriate larger sized needle. All in all, the cable stitch is an elegant, tight stitch which works great on hats, cowls, and other winter accessories, but it’s really right at home regardless of the pattern you want to make.
Materials
- Knitting needles
- Yarn
- Cable needle or DPN
How to Knit a C6F
Step 1: Casting On
CO a multiple of 9 sts + 5
Step 2: Working Up to the Cable
Row 1: (RS) K1, p3, * k6, p3 **, repeat from * to ** until you have 1 stitch left. K1
Row 2: (WS) K all knit stitches and P all purl stitches until the end of the row
Repeat rows 1 and 2 until you reach the first place you want to put your cable twist.
Step 3: Working the Cable
K1, p3
* slip 3 sts purlwise to your cn, and set the cn in the front of your work. K3, k3 from your cn, P3 **
Repeat from * to ** until you've got one stitch left on your needle. K1
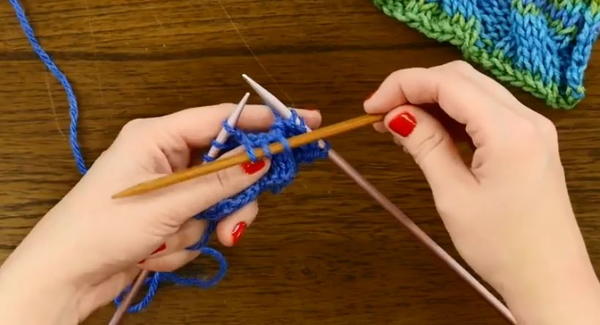
Repeat steps 2-3 until your pattern has reached the desired length.
A Note on Cabling Abbreviations
Because cabling is so complicated, cabling abbreviations do not always look the same across different patterns.
There are many ways to annotate specific types of cabling, but for the video above, the most common way to transcribe this front twist is C6F (cable six front). For the same twist that curves in the other direction (with the left part of the cable twist in front), you would write that as C6B (cable six back).
Keep in mind that the number in the middle of this abbreviation indicates the total number of stitches used in the cable twist, NOT the number of stitches that you slip on to your cable needle. For a C6F or C6B, you would only slip 3 stitches on to your cable needle; for a C4F or C4B, you would slip 2.
More advanced cabling might use an uneven number of stitches. A C2/1F, for example, would give you two stitches that are slipped onto a cable needle and cabled over one stitch; C2/1B, on the other hand, would create the same cable twist in reverse -- one stitch slipped onto a cable needle and cabled behind two stitches. If this all sounds confusing, never fear -- for patterns that use a lot of different cable stitches, designers typically write out detailed instructions on what each symbol means and how to knit it.
Up Next
Read NextEasy Baby Blanket
meribelle
Feb 28, 2020
I am trying to learn this cable pattern, and it says repeat steps 2 through 5, but there are no steps 4 and 5. Please help.
Mark
Apr 09, 2018
Is this really all there is to knitting cables? They look so pretty, but they're not that much work after all. I'll be giving this a try
Report Inappropriate Comment
Are you sure you would like to report this comment? It will be flagged for our moderators to take action.
Thank you for taking the time to improve the content on our site.

