How to Hand Felt Knit Projects
Hand felting your knitting is so easy and so fun!
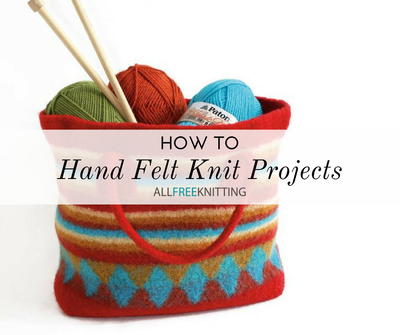
Have you ever put a wool sweater in the washing machine and have it shrink so it would only fit a doll? The felting process is disappointing when it happens by accident, but you can take advantage of this process to form sturdy, heat resistant fabrics. In this article, I will share with you some tips to create perfect felted garments.
Some people will use a washing machine to felt their items. Since I don’t have access to a top loading washing machine (where you can check the progress of the felting so you don’t shrink the item too much) I prefer to felt by hand in the sink. For a visual demonstration, check out my video tutorial below!
Materials
An item knit (or crocheted) out of feltable wool
Hot water
Dish Soap
Agitation
Instructions
Before Felting:
Step 1:
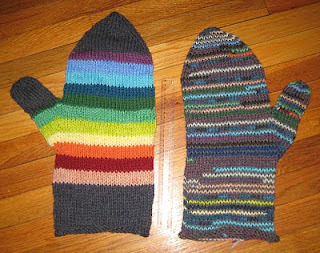
Not all yarns will shrink when wet. How can you choose a yarn for your felting project? Check the label. If the yarn is listed as machine washable, then it probably won’t felt. When in doubt, make a swatch! Knitting a 4x4 inch square and felting will allow you to determine whether a fiber felts and how much it will shrink in each direction.
Step 2
To set up the felting area, fill your sink (or a bucket) with hot tap water. The water should be as hot as you can make it while being comfortable to submerge your hands in the water.
Pro Tip:
If you’re worried about dishpan hands, try wearing rubber gloves while felting! Add a small squirt of dish soap and submerge your knit item.
Step 3
To begin felting, you need to provide agitation. Every person may have a different preference, but I prefer to rub the knit fabric between my hands. I agitate the fibers with my hands and rub sections of the fabric against each other. Before you notice any shrinking, you will see the stitches relax and it will look like the item is getting larger. Soon after, you will notice the stitches begin to look less defined and fuzzy. It is okay to take breaks to rest your hands, any felting progress cannot be undone.
Step 4
If the water cools off, empty the sink and refill with hot water. When your item is completely felted, you will be unable to tell where the stitches were.
After Felting:

I love to make felted oven mitts as housewarming gifts. You want to take care to make sure there are no holes or gaps in the mitt before using it in your kitchen! I like to pay special attention to the thumb area with extra agitation while felting.
The best way to begin felting is to make a small project (like a ball or coaster) and give it a try. Before you know it, you will want to try felting everything!
Read NextWinter Cable Knit Beanie Pattern


